Builds
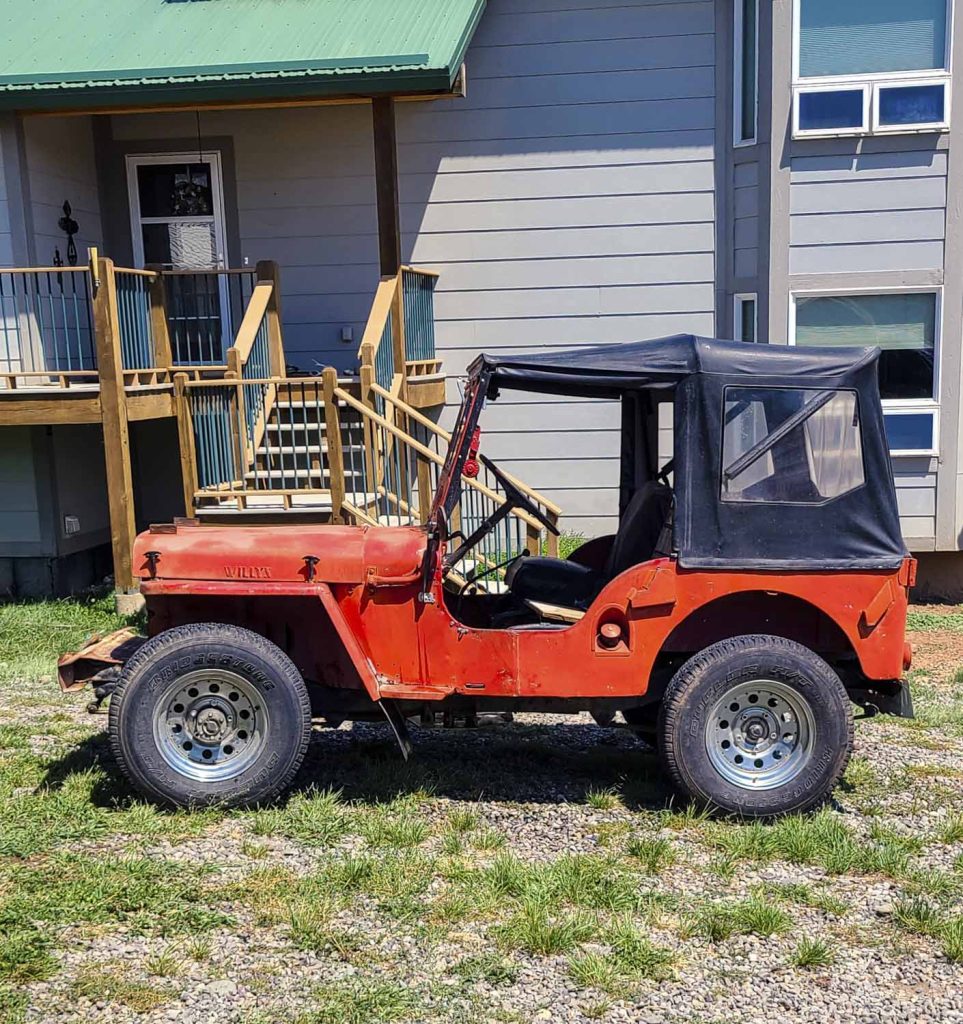
The Rebuild Continues: Project Red Devil
Story and Photos by Mike Boyle
Now that we knew the engine was solid and running well (Issue 38), it was time to move on to making sure the rest of the drivetrain was prepared to return to service after ten years of slumber.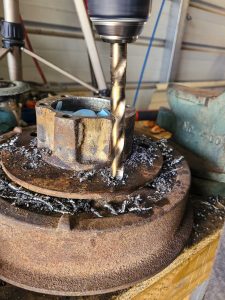
 The first order of business was to drain and refill the gear oil in the axles, transmission, and transfer case. One of the advantages of working on older vehicles is that the manufacturers built them intending to be serviced. Unlike modern axles, both front and rear differentials are equipped with drain plugs that make changing the gear oil as simple as changing the engine oil. Likewise, the transmission and transfer case are both equipped with drain plugs. Another indicator that these old Jeeps were intended to be serviced is the fact that just about everything that can has a grease zerk. If it moves, they made it possible to grease.
 After hitting everything with some fresh grease, it was time to double-check that the brakes were still functional. I knew my dad had rebuilt them just before it was parked, but due to brake fluid being hygroscopic, I wanted to make sure none of the hydraulic components had been compromised by the possibility of rust in the system. Luckily our dry air in Colorado hadn’t caused any issues, and everything was solid. While I had the brakes apart, I noticed that the flexible hydraulic lines had not been replaced, so a quick call to Classic Military Vehicles got a fresh set on their way. The final step in the brake rehab was to replace one of the front brake drums that we knew was worn beyond spec. With the new (used) drum installed and the flexible lines replaced, we bled the brakes before pulling the RedDevil out and taking it for its first test drive in over a decade.
It was great to get the old girl back out on the road and up to speed, and now that we know that we have a solid functional foundation to build from, it’s time to get her ready for the trail.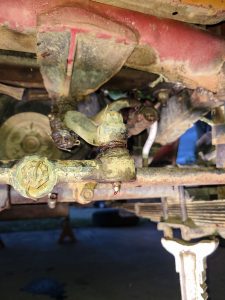
Classic Military Vehicles, 479-323-7039, www.jeep1942.com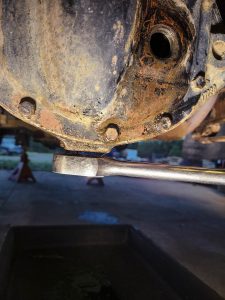
1-2. Changing the gear oil in the differentials was as simple as pulling the factory installed drain plugs and refilling. (Note: always inspect the oil drained from any gear box for signs of metal or other indications of internal issues before refilling. If any signs of metal appear, further inspection is recommended before proceeding)
3-5. If it moves, the factory intended it to be serviced. Every point on the chassis with a grease zerk was given a fresh shot of grease before being put back into service.
-
- Pay close attention to the driver side lug nuts. From the factory the driver side came equipped with left hand thread wheel studs (indicated by the “L” stamped into the end of the stud).
- The +70-year-old flexible brake lines had seen better days and were replaced with a new reproduction set from Classic Military Vehicles.
8-9. Anyone that has worked on an older 4wd has run into this. Seems back in the day, it was common to use a chisel and hammer to remove and install the jam nut on the spindle nut assembly. While a way to get yourself out of a pinch, it is not possible to get the lock nut preload set properly. A couple replacement nuts and a $13 socket was all that was needed to insure the bearing preload and jam nuts stay adjusted properly.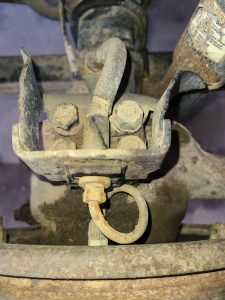
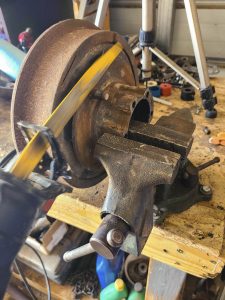
10-11. Replacing the drums on these old Jeeps can be tricky. The studs are staked in from the factory and without access to a press and proper tooling, it can be very difficult to remove the studs that hold the drum in place. Fear not, there is an alternative method. First step is to take a Sawzall or cutoff wheel to the studs and cut them flush with the hub face. Next drill the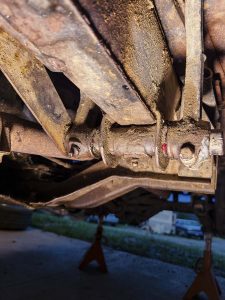 center out of the studs. You don’t want to go all the way through and it isn’t necessary to completely remove the whole stud (I drilled mine out to 31/64). Once drilled out the studs can easily be driven out with a drift punch and hammer.
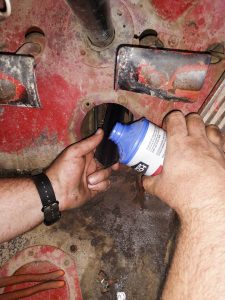
- Once everything was reassembled it was time to bleed the brakes. The master cylinder is located under the floor on the old flat fenders and while they did provide a removable access plate, it is still difficult to access. A simple trick to refilling the reservoir is to use a clean piece of angle iron as a trough to direct the fluid into the master cylinder.
- With everything buttoned up it was time to wash the years of barn dust off and take the RedDevil for its first test drive.

