Product Highlight
Tailgate Trouble!
By Christian Sturtz, [email protected]
Photos by Christian Sturtz
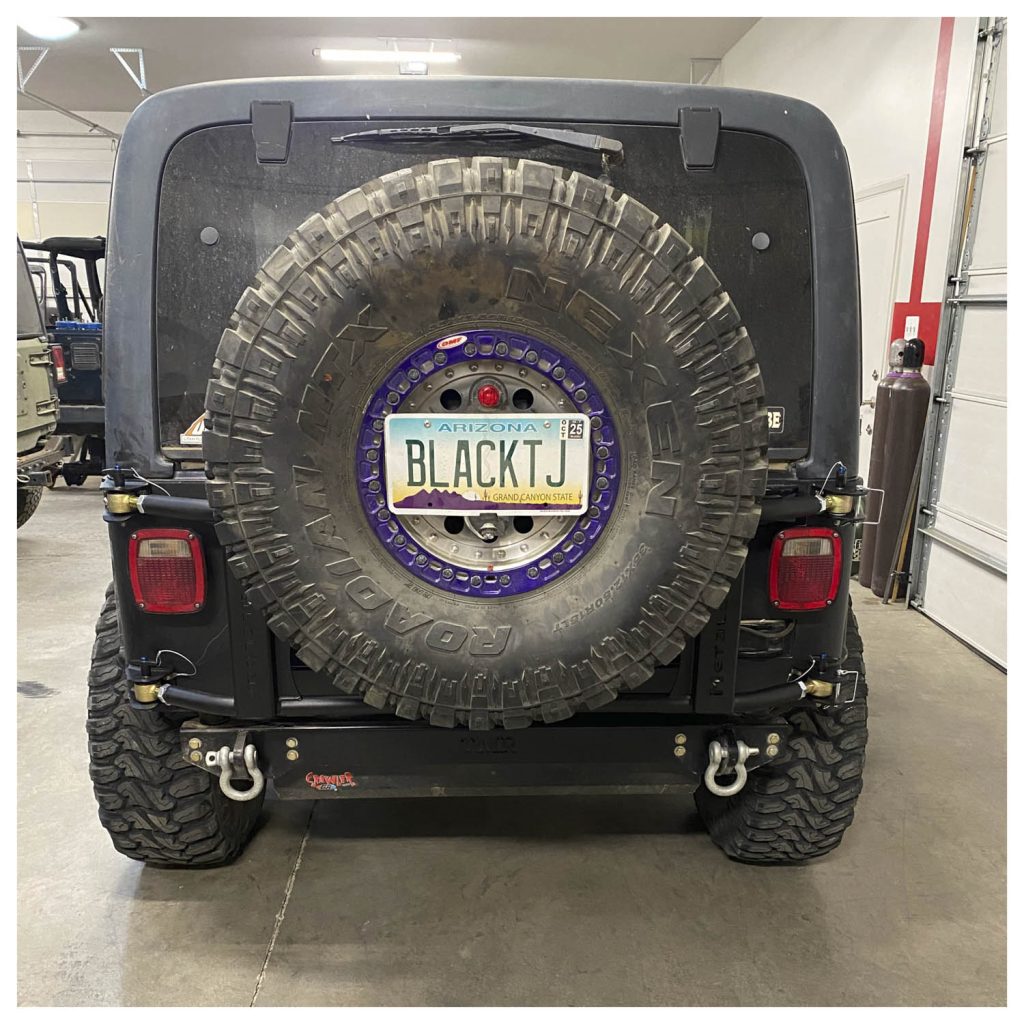
Oversized tires can wreak havoc on drive train parts, but they can also destroy body components. On Jeep Wranglers, TJ/LJ models, the factory spare tire mount is fastened to the tailgate. This design is strong enough for a stock sized wheel and tire, but throw a 32” tire (or larger) back there, and eventually, you will have problems. If you are going to run 33” tall tires (or larger), it most likely won’t even fit because the tire hits the bumper. Large tires on the stock mount can rip sheet metal on the tailgate, spring the hinges/latches, deflect the tailgate allowing the top to leak, and cause many other issues.
One solution for this problem is a tub mount tire carrier by Metal Cloak. The tire carrier is packed with many features that make it a great option. Once installed, it has the option for easy tool-free removal, which allows you to run tight or aggressive trails without the spare getting hung up on something. Its hea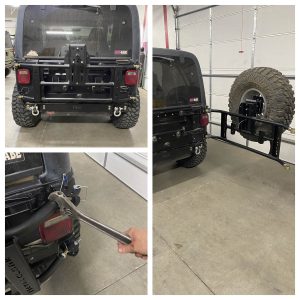 vy steel construction and plate work well and will hold up to years of use. Metal Cloak incorporated the use of their flex joints at the attaching points/pivots to keep the swing-out quiet. The fully adjustable tire mount allows many different tire/wheel configurations, up to a 40” tire. It also has accommodations for a Hi-Lift jack and Roto-Pak accessories.
The only requirement for installing this product is that the Jeep must be equipped with corner tub guards of some kind. The holes on the mounting brackets match up with the Metal Cloak corner guards, but Metal Cloak has designed this product to work equally well with other brand corner guards.
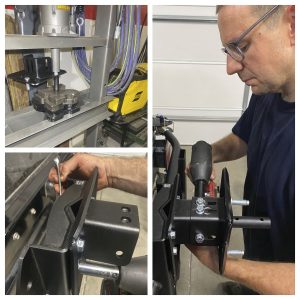 The install of this product is very easy! We started by removing the spare and the factory tire mount. Then we applied anti-seize to the inside of the four threaded inserts and threaded in the flex joints. We started by leaving out about ¾” of threads above the jam nut when fully screwed down (this may have to be fine-tuned later). Next, we removed a bolt from the top of our Metal Cloak corner guards, bolted our pivot side bracket into location, and marked the other mounting holes. If you are not using Metal Cloak guards, line the bracket up with the top of your corner guards and measure over approximately 7” from the edge of the tailgate. The design of the pivot bracket allows you to choose the direction you want the tire to swing. We chose to have it swing the same way as the tailgate. Finally, we removed the bracket, center punched the holes, and drilled them to 3/8”. After drilling, we bolted the bracket into location with the supplied hardware. You need to bolt the cable for the T-pin (if used on the pivot side) through one of the bolts. (*Tip: make sure to pull back carpet before drilling and paint the edges of the newly drilled hole to prevent corrosion).
We decided to hold the carrier up and install the T-pin in the mounted pivot bracket to check the lower pivot location. This was a good hunch! Our corner suffered a pretty hard impact on the Rubicon Trail a few years back, so we decided to elongate the hole a little in the corner guard to keep everything square. The lower bracket was held in position, marked, punched, drilled, and then bolted into place. Don’t forget, if you aren’t using Metal Cloak corners, start approximately 7” over from the tailgate; we recommend test fitting to mark the holes exactly. The carrier was then held in position, and the T-pins were installed. Two nylon washers go under the bottom side of the flex joints on the pivot side. Next, we closed the swing-out against the corner guard on the driver side (latch side) and checked to see if the carrier was level/lined up with the body. It was very close; we had to screw the lower pivot joint out 1 ½ turns. Finally, we installed the latch side brackets on the flex joints and checked the hole locations; they were very close. The corner guard bolts were removed, additional holes were marked, punched, and drilled. Then brackets were bolted into place. We had to adjust the flex joints on the latch side to get them to line up once bolted. 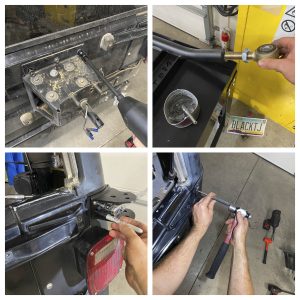
The tire plate must have the stu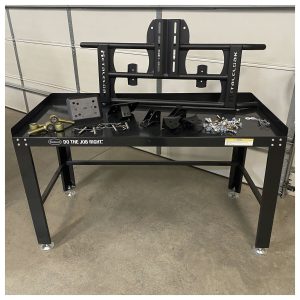 ds pressed in before installation, which can be done with a vice or shop press. Figure out what holes match up to your wheel pattern. After the studs are installed, decide the height you want the tire mounted and bolt the tire plate base into position. We chose to adjust the tire as high as it would go, which is good for off-roading but not for visibility. To adjust the depth, we loosely installed the tire plate and held the tire up to decide where to tighten it; you want a little squish on the tire. The plate was then tightened. We also chose to use the Metal Cloak license plate/brake light kit (Part #3960). Next, the tire was bolted down, and its function was checked. It swings remarkably easily, and our holes on the latch side are still lined up. So, we finally installed the swing stops and tightened the jam nuts. Now your tailgate won’t be in trouble. Full detailed directions available at www.metalcloak.com.
Parts Used:
TJ/LJ Tub Mount Tire Carrier, 4 T-pin option (Part #2840)
Sources:
Metal Cloak
2484 Mercantile Dr.
Rancho Cordova, CA 95742
GEARWRENCH
APEX Tool Group
910 Ridgebrook Rd. (Suite 200)
Sparks, MD 21152
1-800-688-8949
Eastwood
1-800-343-9353

