Product Highlight
BUDGET BENDER
By Christian Sturtz, [email protected]
Photos by Christian Sturtz
Have you ever looked for a bumper, rock sliders, roof rack, or (insert part here) and can’t find what you are looking for? One great option is to build what you want yourself. A lot of aftermarket body protection and accessory products use round or square tubing as the main structure or for added support. Tubing is often used because it has strength in multiple planes, it’s lightweight for its strength, and looks clean.
Since 1966 Woodward Fab has been a family-owned and operated company that manufactures and sells metalworking equipment. Woodward Fab makes and supplies products that can assist you in your fabrication endeavors, from bead rollers to welders. Their products have quality in mind with a great price point. Check out what they can source for you before tackling your next fabrication project.
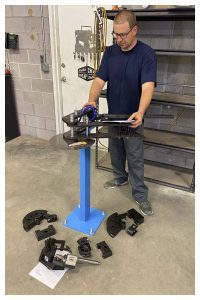
We have a lot of upcoming projects that are going to require some tube work. After looking over the available options, we kept coming back to the Woodward Fab manual tube and pipe bender. What sold us on the bender was the price point and the included features. The bender includes a 36” handle and a degree wheel. We also like the serviceable wear points on the pivot. Additionally, the dies are reasonably priced and are available in most common radiuses and sizes. Their optional stand has a robust construction and is highly visible in a work area. We also like that their manual and hydraulic machines use the same die sets; in case we ever decide to upgrade to a full hydraulic machine. 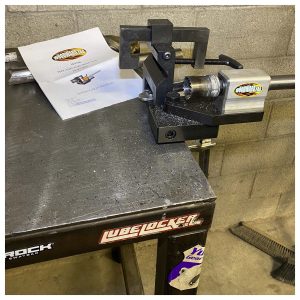
The bender goes together very easily. Once you have the optional stand or a solid mounting surface securely fastened to the floor, the bender assembles with six bolts/nuts, a pin, and a few collars. (*Tip: make sure you mount the bender in a location, so you have enough room to work around it). The operation of the bender is straightforward. It uses a ratcheting cam mechanism to magnify the bending force. Before using the bender, we installed the roll pins in all of the stationary dies in our die sets. The roll pin is tapped into the hole until the correct height is achieved. You will have to have the rotating die in the bender to test fit and adjust the roll pin height on the fixed die until the dies line up.
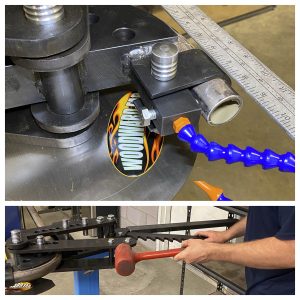 To complete a bend, install the correct die set (for the size tubing) in the bender, slip the tube into the bender to the desired bend line, and snug down the holding bolt. The bend line is the point where the tube starts to bend. (Figure 3) (*Tip: get in the habit of marking things and writing down measurements and degrees of bends, this will help you if you ever need to duplicate something) Place the first notch of the ratchet onto the outer bolt of the rotating arm and lightly pull back on the handle to remove the slack. This is the time to line up your tube if there is more than one bend, and zero your degree gauge if you are using it. After you are happy with the positioning, pull back completely on the handle. At the end of the stroke, return the handle to the forward position and catch the next too
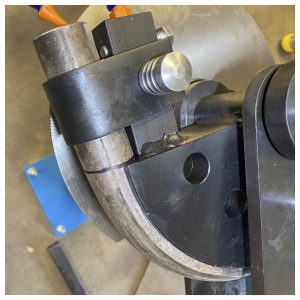 th on the ratchet. Continue this process to the desired amount of bend. If you get to the last notch (or next to the last notch) and you need more bend, pull the pin on the rotating die and swing the arm back to the start position and re-install the pin to start the ratcheting over.
The pointer, if zeroed correctly, is very accurate. After bending the tube to the desired amount, swing the ratchet out of the way and tap back on the rotating arm to free up the tube. Sometimes you will need to bend the tube more, which would require you to re-insert the tube into the bender, but be sure to get it back on your bend line. Always go a little at a time. It’s easy to bend it more, but hard to bend it less!
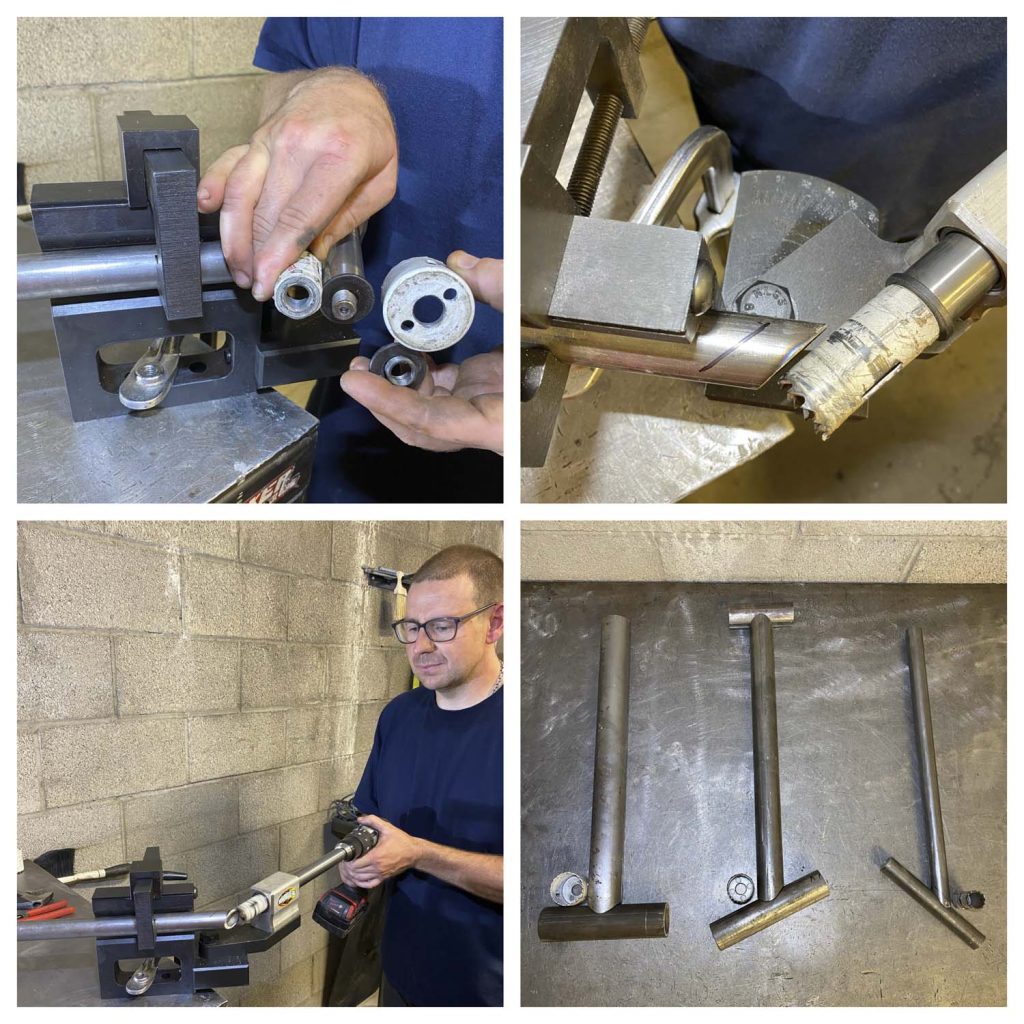
Woodward Fab also sourced us with a tubing notcher. This type of notcher uses a hole saw to notch the tube. The notcher bolts together with two allen bolts. You can clamp the notcher in a vice or fasten it down to a solid surface. The notcher has a 3” capacity, can notch up to 50 degrees, and includes arbors for both thread sizes of hole saws.
To notch a tube, start out by installing the corr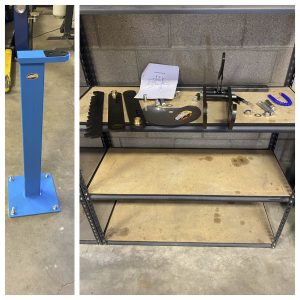 ect hole saw and cut the tube to the desired angle. Adjust the notcher to the same angle as the cut. Then position the tube for the desired notch depth and clamp it. Finally, using a drill, smoothly feed the hole saw into the tube. Always use eye protection, and lubricant on the hole saw if needed. Now you are budget-bending!
Tools Used:
Manual Tube/Pipe Bender (WFB2)
Stand (WFB2STAND)
1.5” Die Set (WFBD11/2×5180)
1.75” Die Set (WFBDT13/4×6)
Notcher (WFN6)
Sources:
Woodward Fab
P.O. Box 425
1498 Old US 23
Hartland, MI 48353
1-800-391-5419

