Uncategorized
REBUILDING DEPENDABILITY
By Christian Sturtz, [email protected]
Photos by Christian Sturtz
In the off-road industry, RockJock is known for building performance suspension, steering systems, and components. One of their staple parts is the Johnny Joint. John Currie was looking for a rebuildable alternative to standard rubber bushings that would not reduce the vehicle’s travel and flex. This led him to develop a urethane bushed spherical ball joint. The urethane that he used allowed the joint to flex and rotate freely. Another great advantage to the Johnny Joint’s proprietary urethane is that the joints don’t make noise, and they provide a positive cushion for on-road and off-road impacts. Johnny Joints require very little maintenance- a quick pump with a grease gun every six months will keep them going for years.
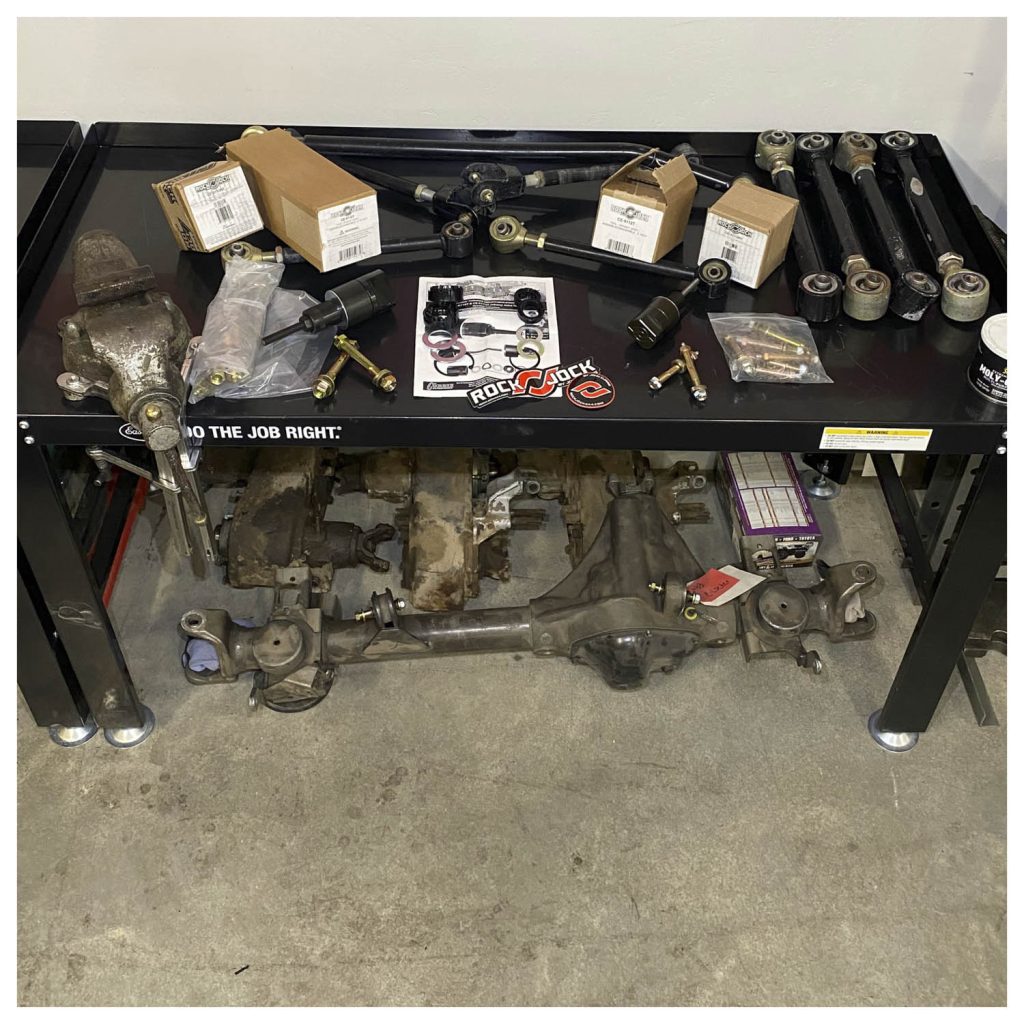
As for their dependability, one of our Jeeps has been equipped with RockJock control arms with Johnny Joints since 2007. This Jeep has been run through the wringer; it has gone from a daily driver on 30-50 miles of dirt washboard roads to a trail rig. In 14 years of hard use, the control arms have had zero failures. That being said, we thought it would be an excellent time to show these control arms a little love. A must-have for rebuilding Johnny Joints is the RockJock service tool; it comes in three sizes: 2”, 2 ½”, and 3”- boy, do they make service a breeze! 
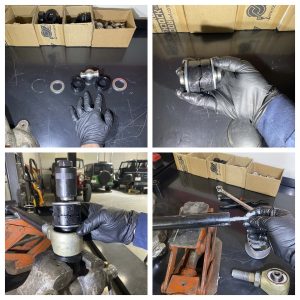
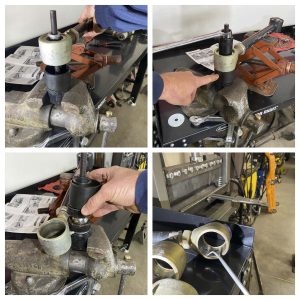
We started by clamping the tool in a vice. The nice thing about the tool’s design is that you can use it on a vehicle to service the joints in place. The joint is slid onto the threads of the tool with the snap ring facing up, the press nut is screwed on by hand until it reaches the washer. Next, a wrench is used to tighten the press nut, and the snap ring is removed. (*Tip: it doesn’t take much tightening to compress the joint enough to remove the snap ring, we turned the wrench about 180 degrees past it being hand tight. Overtightening can bend the washer.) Finally, the press nut was loosened and unscrewed. We used a scissor jack to support the arm during this process. It worked great because we could adjust the height to keep the arm level. 
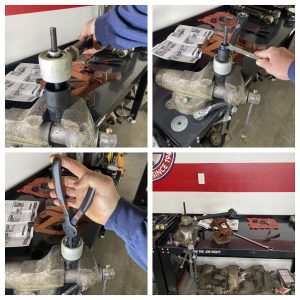
We slid the arm off the threads of the tool and the receiving tube onto the base. The arm was then slid back on the threads with the snap ring groove down. Then, the press nut is tightened, pushing the parts into the receiving sleeve. Next, the arm is slid off along with the receiving sleeve, and the press nut removed. The parts can now be removed from the thread and inspected. Finally, the snap ring groove bore of the joint, and we thoroughly cleaned the joint ball. If there is any pitting on the ball, it can be addressed with emery cloth; ours had very little pitting.
The assembly of the joints is straightforward. The RockJock repair kits come with new washers, snap ring, and both urethane cups. Urethane cups key into each other if properly indexed. Before assembly, we coated the ball and cups with moly grease, the grease is also available from RockJock (Part #CE-9013G). To install the parts in the joint housing, a washer is placed on each side of the cups, correctly indexed with the ball in the middle of the cups. Then the arm is slid on the threads of the tool, and the press nut is run down, pressing the parts in. Run the press nut down just far enough to get the snap ring back in. Next, the snap ring is installed, and the press nut is removed. To finish it up, we loosened the threaded side of the arms, cleaned out the threads, and reapplied anti-seize. We also ordered some new bolts from RockJock for the arms, they were definitely showing their age. The 2 ½” tool was used in this article; the other size tools’ use is identical. Let’s see if we can get 15 years out of them this time. Now that’s how you rebuild dependability.
Parts Used:
2” rebuild kit (CE-9112RK)

2 ½” rebuild kit (CE-9110RK)
7/16” bolt (CE-91127)
9/16” bolt (CE-91107)
Tools Used:
2” tool (CE-9112T)
2 ½” tool (CE-9110T)
Sources:
RockJock/John Currie
Performance Group Inc.
1592 Jerks Dr.
Corona, CA 92878
1-714-367-1580
GEARWRENCH
APEX Tool Group
910 Ridgebrook Rd. (Suite 200)
Sparks, MD 21152
1-800-688-8949
Eastwood
1-800-343-9353


