Uncategorized
A LITTLE ASSISTANCE, PLEASE
By Christian Sturtz, [email protected]
Photos by Christian Sturtz
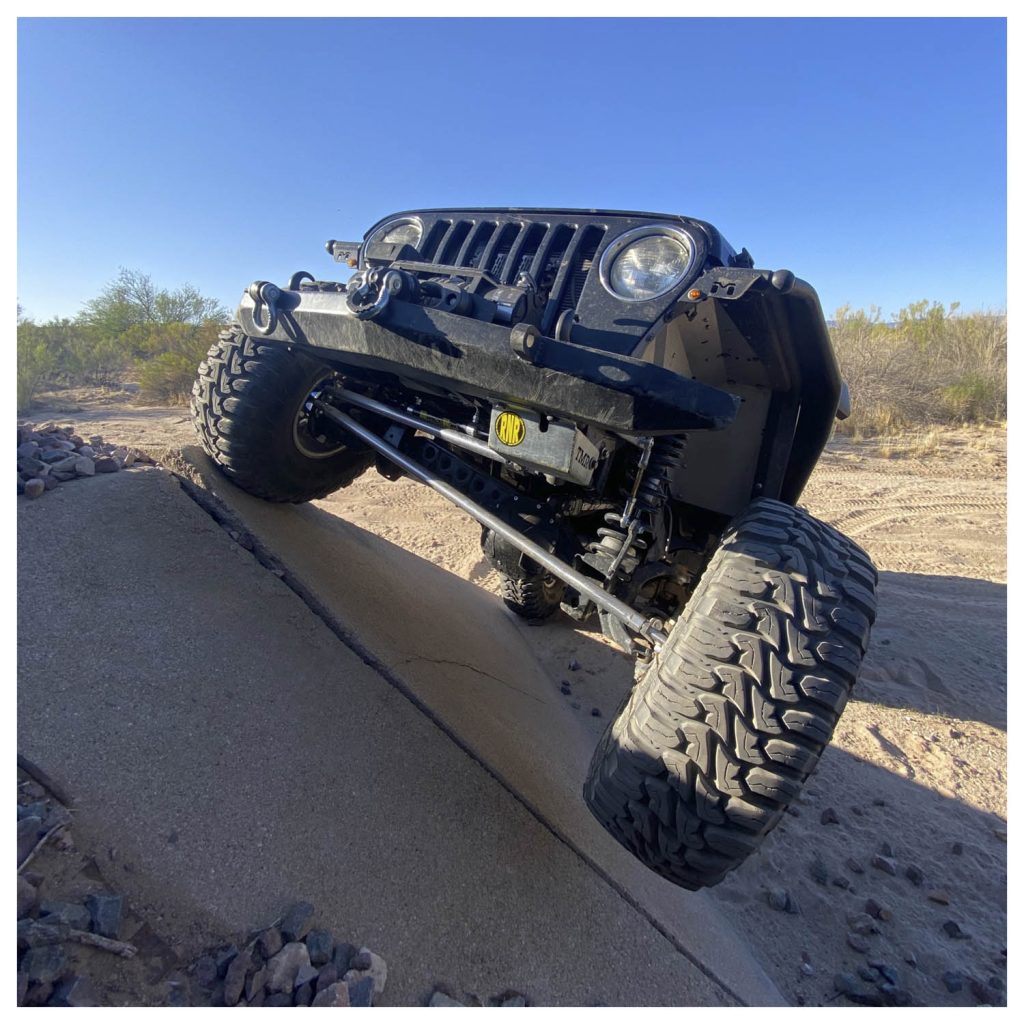
If you keep modifying your vehicle, eventually, you will get to the point where the factory power steering setup will not keep up. With so many different ways to build a rig these days, this will be different for everyone and every driving style. An easy and cost-effective way to accomplish more steering assist is by porting your factory steering gear and adding a hydraulic cylinder. West Texas Offroad (aka RedNeck Ram) has many steering gearboxes and hydraulic ram services available. They also offer a wide array of parts and custom services/parts.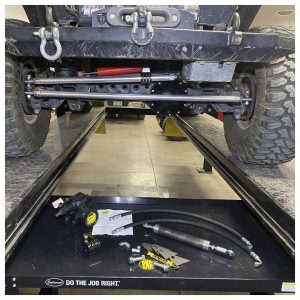
West Texas Offroad allows you to send in your steering gearbox to be rebuilt and ported. They send it back in a kit with everything you need to install a ram assist setup (they call this the box kit). Another option is for them to send a wholly rebuilt gear and the rest of the components to do the ram assist (they call this the core kit). This option allows you to send them the core at a later time for a core refund. We choose to send them the core at a later time, so there was no downtime.
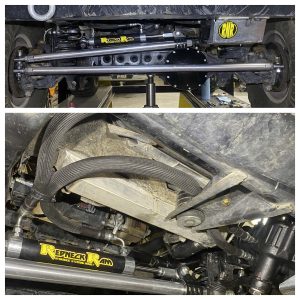 This article will overview the install of a rebuilt ported steering gear along with the addition of a hydraulic ram assist cylinder. We will install this system on a 1998 Jeep Wrangler, but the install of this system on any other application would be similar. Our vehicle is equipped with a gearbox skid plate, so we started by removing that along with the pitman arm. (*Tip: before you unbolt any steering parts, make sure the steering wheel and tires are straight, this will help when putting the parts back on.) We removed the steering gearbox bolts, dropped the gearbox down, and unhooked the lines. Next, we removed the steering shaft bolt. Finally, the steering box clamp is spread, and the gearbox is slid off the shaft. (*Tip: be careful, these gearboxes are heavy! Be sure to hold on to the steering box when spreading the steering clamp; it can drop and slide off at any time but typically requires some persuading.)
Before installing the new steering box, we did a few things first. We replaced the o-rings on the pressure and return hoses; these are an 011 o-ring. Quite a few U.S.A.-made steering boxes use this o-ring. We also made sure the rebuilt box was centered; this is done by first turning the steering box input shaft all the way in one direction and then counting the turns while turning it all the way the other direction. We then center it by going half the number of turns back. Finally, we installed the rebuilt box in the reverse order of removing the old box. We left the steering skid off until later for more visibility.
The ram installed in our application was a little tricky. The front of the Jeep had a lot going on, so we mocked up the ram in three different locations before finding one that would give us adequate travel and clearance. We ended up using the bottom location. 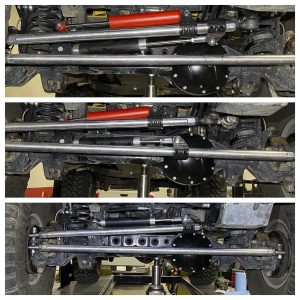
After jacking the front tires off the ground and cycling the steering all the way right and left, we decided to modify our clamp-on mount for the most amount of clearance. We used the two supplied tabs that came in the RedNeck Ram kit to do this. Then we cut down the other two provided tabs and tacked them to the trackbar bracket. It is essential to mount the ram’s fixed end to something solid. (*Tip: the ram must be positioned as close to perpendicular as possible, and parallel to what the ram is pushing against. Also, try to get the hose fittings as close to vertical as possible; this will eliminate trapped air in the cylinder.) Next, we bolted the clamp to the drag link. With the cylinder bolted in place, the steering was cycled right and left. During the cycling, we adjusted the clamp-on mount for the most amount of clearance. Also, we adjusted the cylinder rod ends so the cylinder was centered. The ram is centered when at full right and left the cylinder does not bottom out at compression or extension. We cycled it with the hoses loosely installed so we could check their clearance and movement. Finally, we removed the ram, mounting tabs were welded/painted, and everything was re-installed and tightened.
Before we tightened the hoses, we installed some heat/wear-resistant sleeves over them and loosely secured them to the frame. The top port on the gearbox went to the passenger side of our ram. The system was then filled, the vehicle started, and the wheel was slowly cycled back and forth as the fluid levels were checked. If you get any binding, you could have an overlooked clearance issue, or the hoses are on backward. Don’t force it, figure it out. 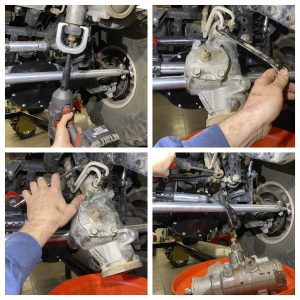
Our final test was to flex it out and check for clearance. We also did some high-speed driving to check the drivability. We did notice the steering is slower now but only requires half the input effort. It is very manageable on and off the street. The only thing we had clearance concerns with is at full bump, at speed, the bolt on the ram bracket will touch the frame. We will add a little bit of bump stop to that side and turn down the bolt’s head or install a button head Allen bolt. Overall, the performance is great, and we look forward to putting more miles on this system. We are pleased to have a little assistance.
Parts Used:
West Texas Offroad/RedNeck Ram
Core Kit for a ‘98 TJ
Sources:
West Texas Offroad
1811 W. Beauregard Ave.
San Angelo, TX 76901
1-877-833-7464
Esab Welding and Cutting Products
Denton, TX 76207
800- ESAB- 123
GEARWRENCH
APEX Tool Group
910 Ridgebrook Rd. (Suite 200)
Sparks, MD 21152
1-800-688-8949
Eastwood
1-800-343-9353

