Man Cave Conversations
Life’s a Beach
Man Cave
Life’s a Beach
by Shelley Krehbiel, 4Low Staff
Spending the winter at the beach instead of the desert brought some new and exciting hobbies to focus on. Sure, we can take our 4WD to the beach – and we do, but why not see how the other folks enjoy the beach.
Things you may not have thought about since you were a kid – like beach volleyball, croquet, or sandcastles.

My experiences when I was little included putting sand in a bucket and tipping it over to create a tower, digging holes with shovels, and making moats. Little did I know, those are the beginning steps to building sandcastles, but there are secrets to making that happen. The Sandcastle world is bigger than you would expect. Our adult experience included lessons; what better way to learn something new than with an expert behind the wheel.
Mustang Island has the best sand for building, with almost 55% clay mixed in with the blowsand makes it firm enough to hold together. But apart from the right sand, you also need technique. This is what we learned from our lesson.
Sandcastles aren’t just sand – they are sand and saltwater – a lot of each.
Step One: Build a Base. Shovel a pile of sand in a mound a little bit bigger than the mouth of your bucket. This should be a loose fill. Drill a few holes in your sand with a stick, then pour water in the center – dig deep and flip the sand once, add more water and sprinkle the loose sand into the center of your pile, and pat – you want to bring the water to the top and then watch it go down.
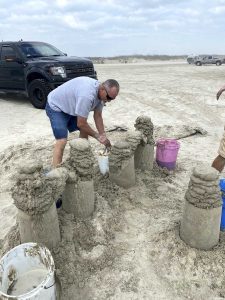
 Step Two: Build a Tower. On top of your base, place a bucket with no bottom or top, add half a bucket of water, then shovel sand in, keep adding both sand and water until you get that bucket filled – finishing with sand, then gently, using light fingers scrape off the layer above the rim, when done, start patting the sand/water. It’ll feel a lot like patting Jello. This process distributes the water through the sand. You’ll do well to pat the sides of the bucket as well – like playing bongo drums. When the sand is set, you’ll be pulling this bucket off. The bucket will have created a cement-like link to the sand, work it around all sides and pull straight up, not toward you.
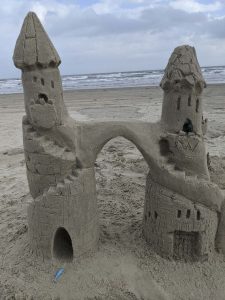
Step Three: Build a bridge. Fill a bucket with sand and water; sand about halfway full, rest with water, mix thoroughly. Between two tower bases, place your hand at the top edge at a 45° angle. Reach deep in the bucket and plop a handful of wet sand on top of your hand/tower. This pancake of sand should probably land 60% on the tower to hold the weight. Let the water drain and move your hand away before it cements. Move your hand to the other side and do the same. With each scoop of sand, you move the bridge closer to the center until they meet.
Step Four: Expand your tower. With the bridge built, most of your tower top is available to add additional pancakes to. This part can be built up as tall as you wish. It doesn’t have to be pretty since this is the part that you will be carving. Use the same bucket with water and sand; a two-to-one ratio works best. Reach down deep in the bucket and plop the sand on top of your tower. It’s building a pancake one at a time. Scoop, plop, jiggle on top. Try to keep the pancakes lining up to go higher; if you get too much to the side, your tower won’t be stable.
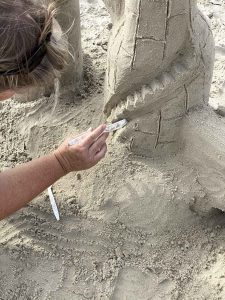
Step Five: Carve your tower. Start with your roof; this can be any design, pointed, rounded, with eaves, without. It’s your castle now. Add Windows, balconies, stairs. The central architectural elements need to go in first. Once completed, you can start to spackle out your pancakes. It’s not so much about adding sand as taking it away to get to the smooth parts.
Step Six: Decorate your castle. It’s time to use those high-tech tools you brought with you; a plastic knife and fork will do. Make your castle your own, is it made with brick or stone, tiles on the roof, doors, caverns. Sand is easy; go a little crazy and make it your own.
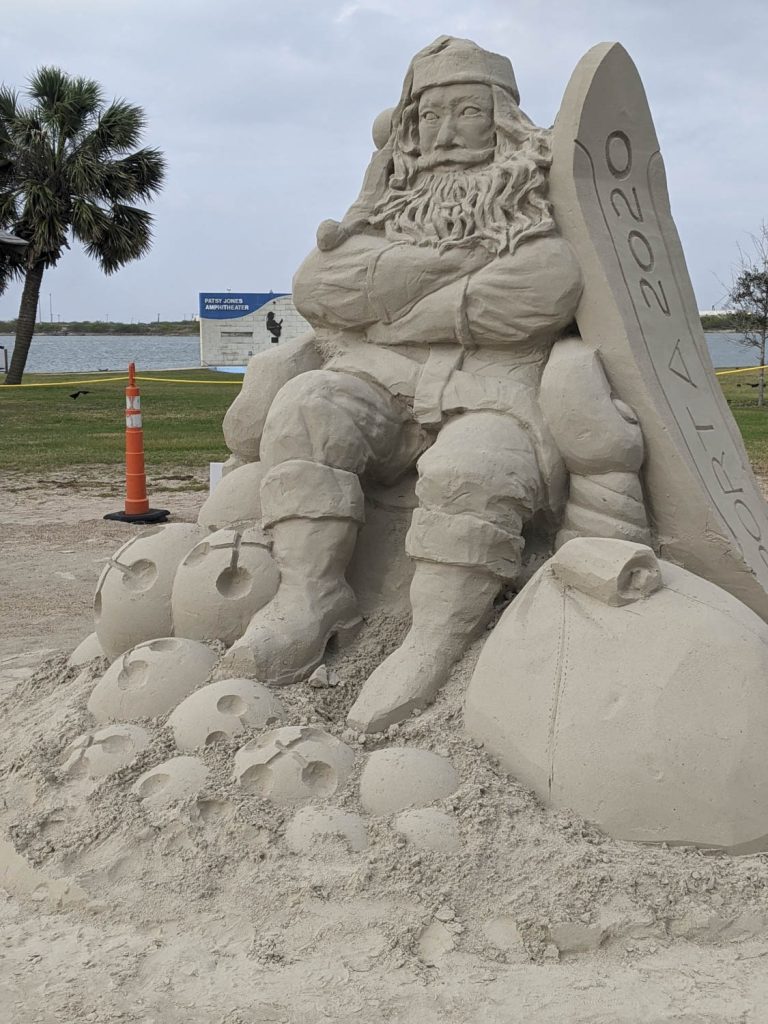
Step Seven: Enjoy. We had no idea how fun building sandcastles would be as an adult. In south Texas, it’s a competitive sport. You’ll find teams of people building all kinds of fabulous works. Sandcastles are just the basics, the beginner’s place. You can see major sand sculptures all over. Often they are treated with a mix of wood glue and cornstarch, sometimes adhesive spray to survive the weather. The biggest hazard for sandcastles is wind and surf. Take lots of pictures; it won’t survive long.


