Tech
A POSITIVE OUTCOME ON YOUR DUI
Originally Published in Issue 35 of 4Low Magazine
Make sure to subscribe to get the newest issues of 4Low Magazine right to your mailbox. CLICK HERE
By Christian Sturtz, [email protected]
Photos by Christian Sturtz
Many vintage and performance vehicle owners are looking for an alternative ignition solution to a point type distributor and traditional coil. One of the best solutions out there is a High Energy Ignition type distributor (or HEI). Not only do they produce over 50,000 volts of output, but they also clean up the engine compartment because the coil is incorporated into the distributor cap. HEIs are very easy to wire and require minimal maintenance.
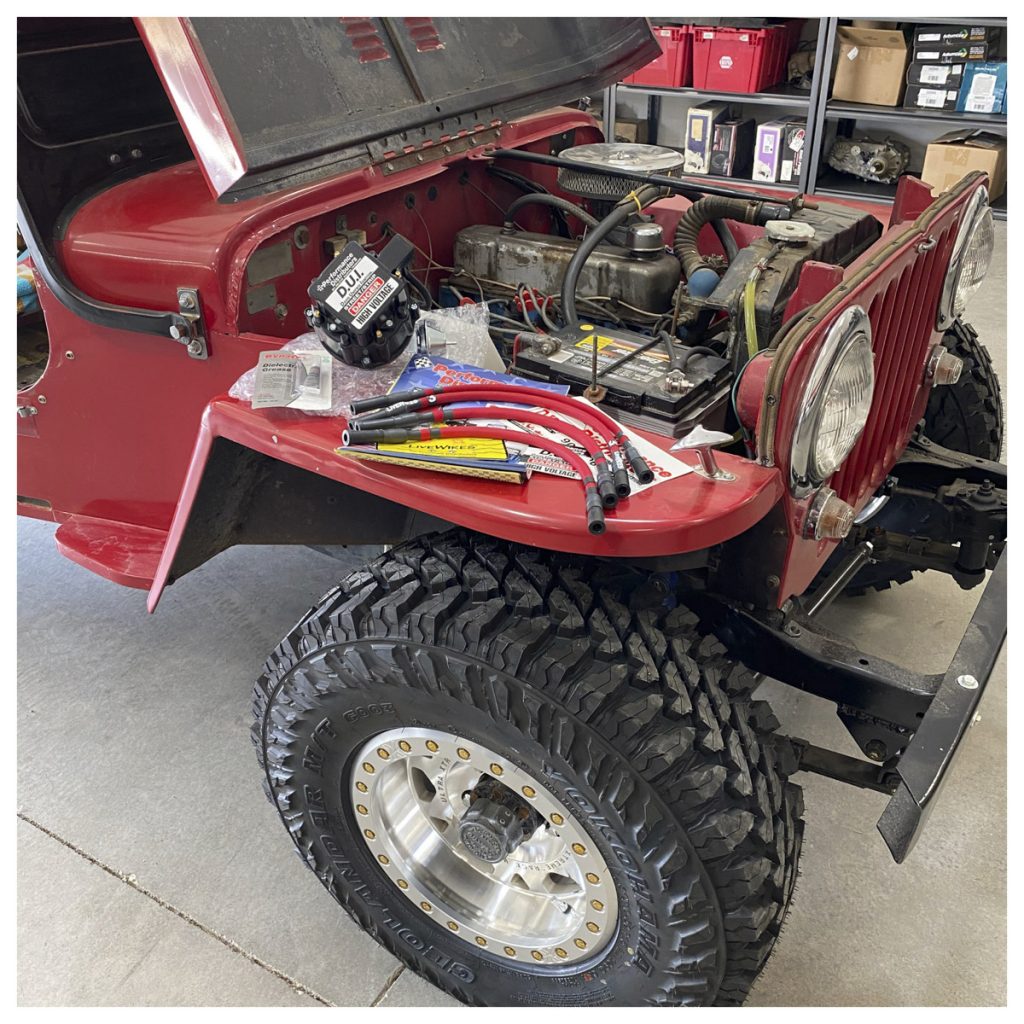
Davis Unified Ignition (or DUI) is a standard in the HEI world. They have a large selection of distributors for several makes and models. They also make coils for coil-on-plug applications, performance ignition coils, plug wire kits, batteries, and even one-wire alternators. Our 1949 CJ-3A had a Chevy 2.5 motor put in it sometime in the ‘70s. We were having some drivability issues, so we replaced and adjusted the points. We also did a few other small things ignition related. The Jeep had a horrible flat spot under acceleration, which we narrowed down to a vacuum advance problem. Not wanting to throw good money after bad, we upgraded to a DUI unit and their Live Wire wire set. 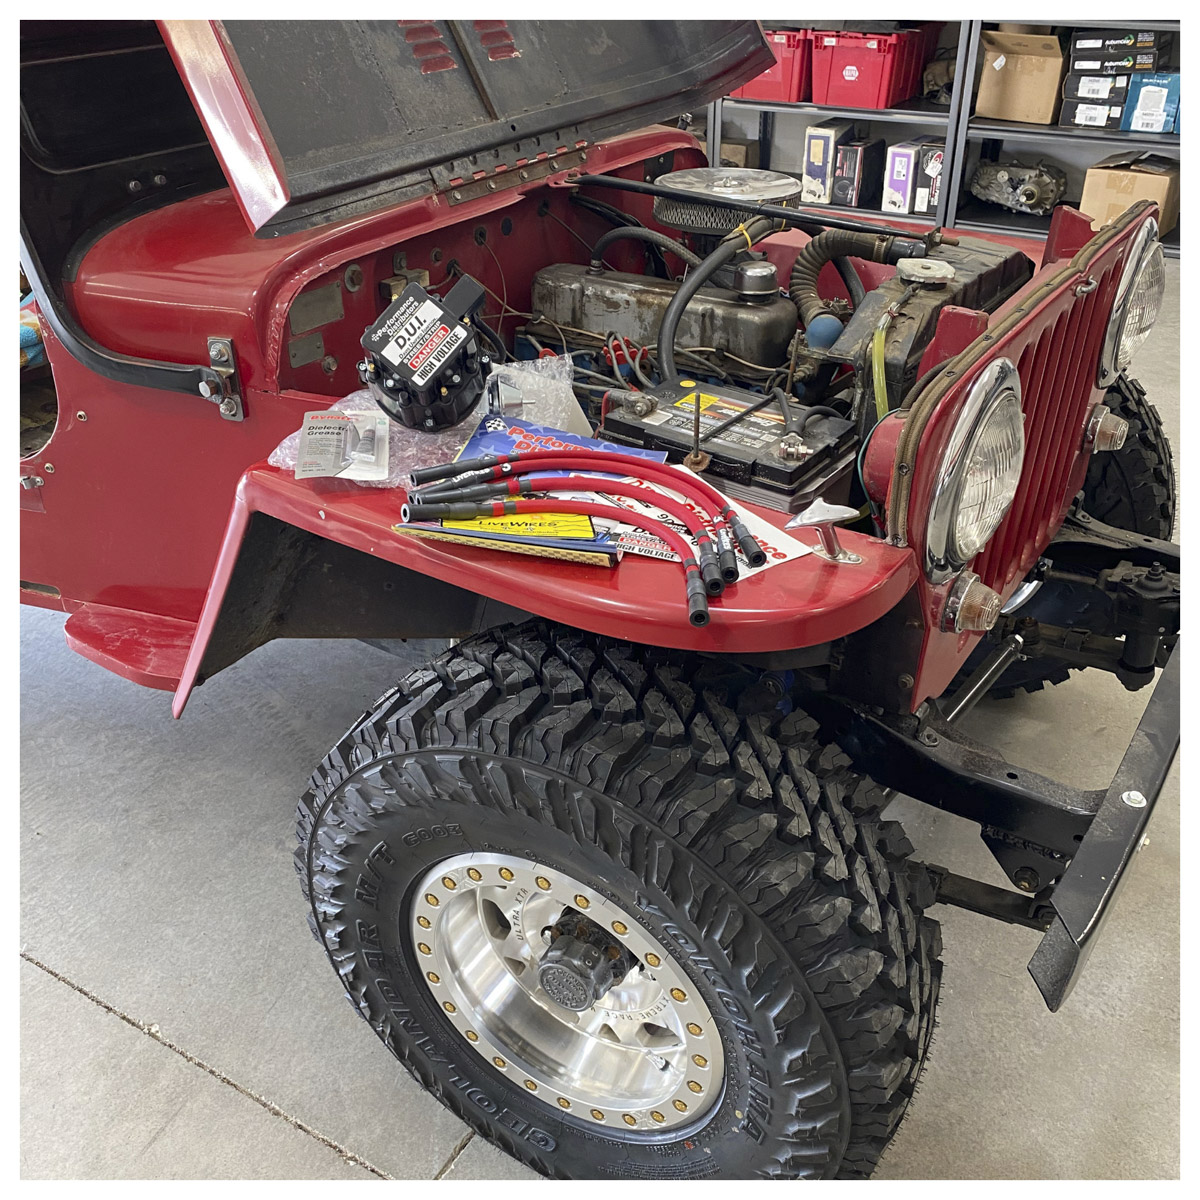
To begin, we located the #1 cylinder and followed the plug wire back to the cap. We marked this location on the cap and distributor body then removed the cap and original wires. We checked the firing order and directional rotation of the rotor and factory ignition timing and wrote them down. Next, we removed the #1 plug from the engine and the starter was bumped over until #1 was on top dead center (TDC) of compression stroke. This is most safely performed with the starter button and key in off position. The motor is bumped over with your finger plugging the #1 hole until you feel or hear pressure escaping from under your finger. When this stops, your timing mark should be close to the notch or timing mark on the crank pulley or balancer. If not exactly there, you will need to manually rotate the engine until the timing marks line up. Finally, the rotor location was marked, and the distributor location was noted. 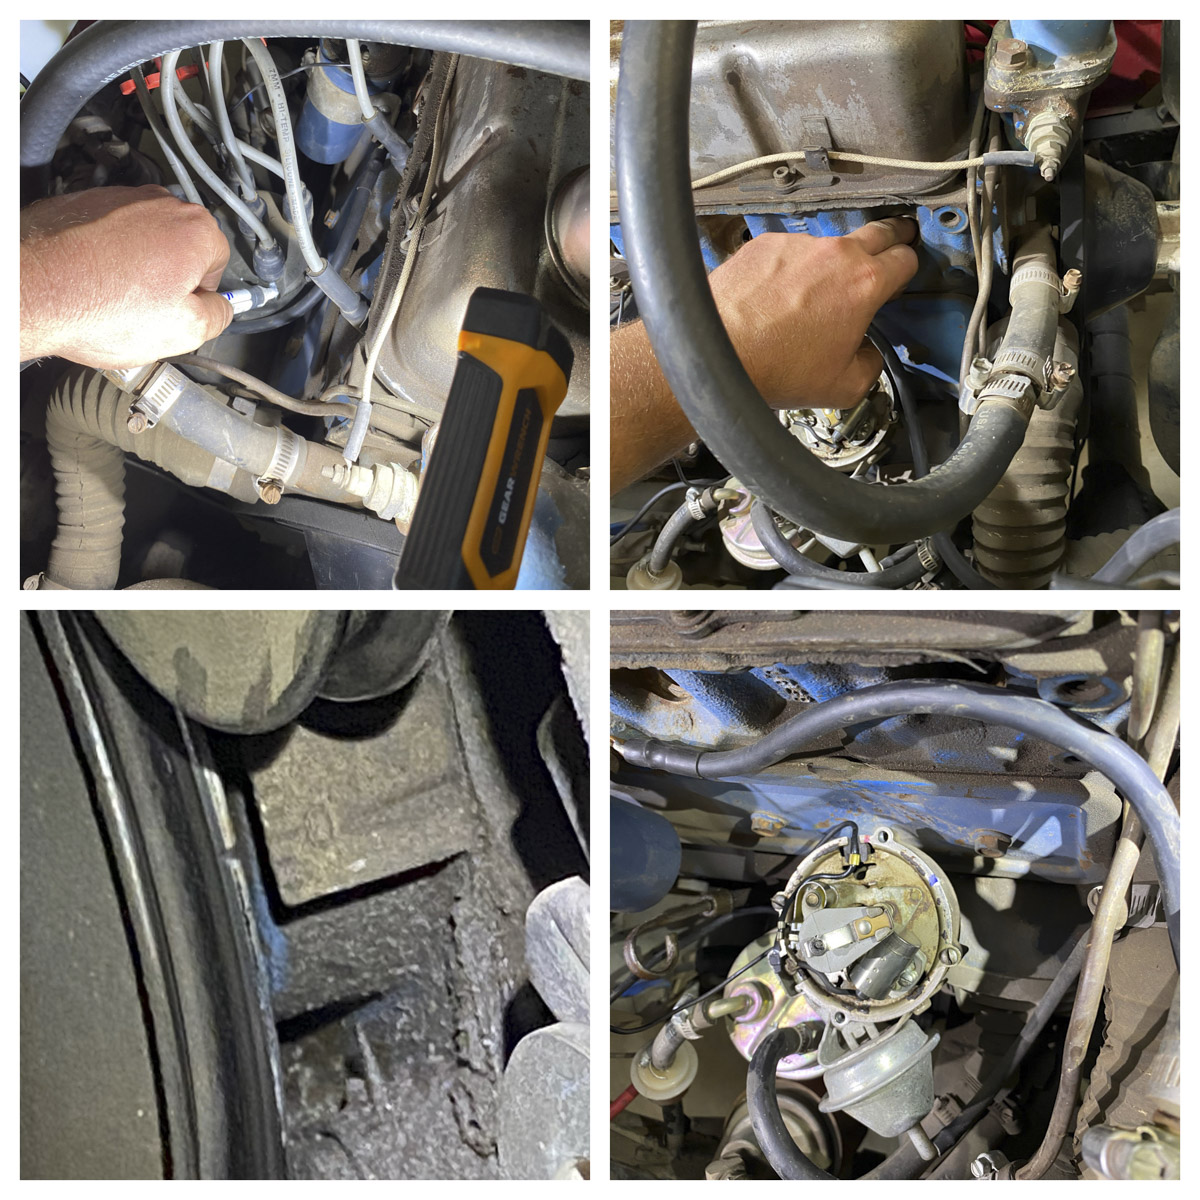
The rest of the plugs were then removed, along with the original coil. The vacuum advance was unhooked, and the hold-down clamp for the distributor was loosened and removed. Next, the distributor was slid up (pay attention to which way the rotor turns as you pull up the distributor – this will help you when putting the new one in). Finally, we removed the original distributor gasket from the block; try not to drop any debris into the distributor hole. 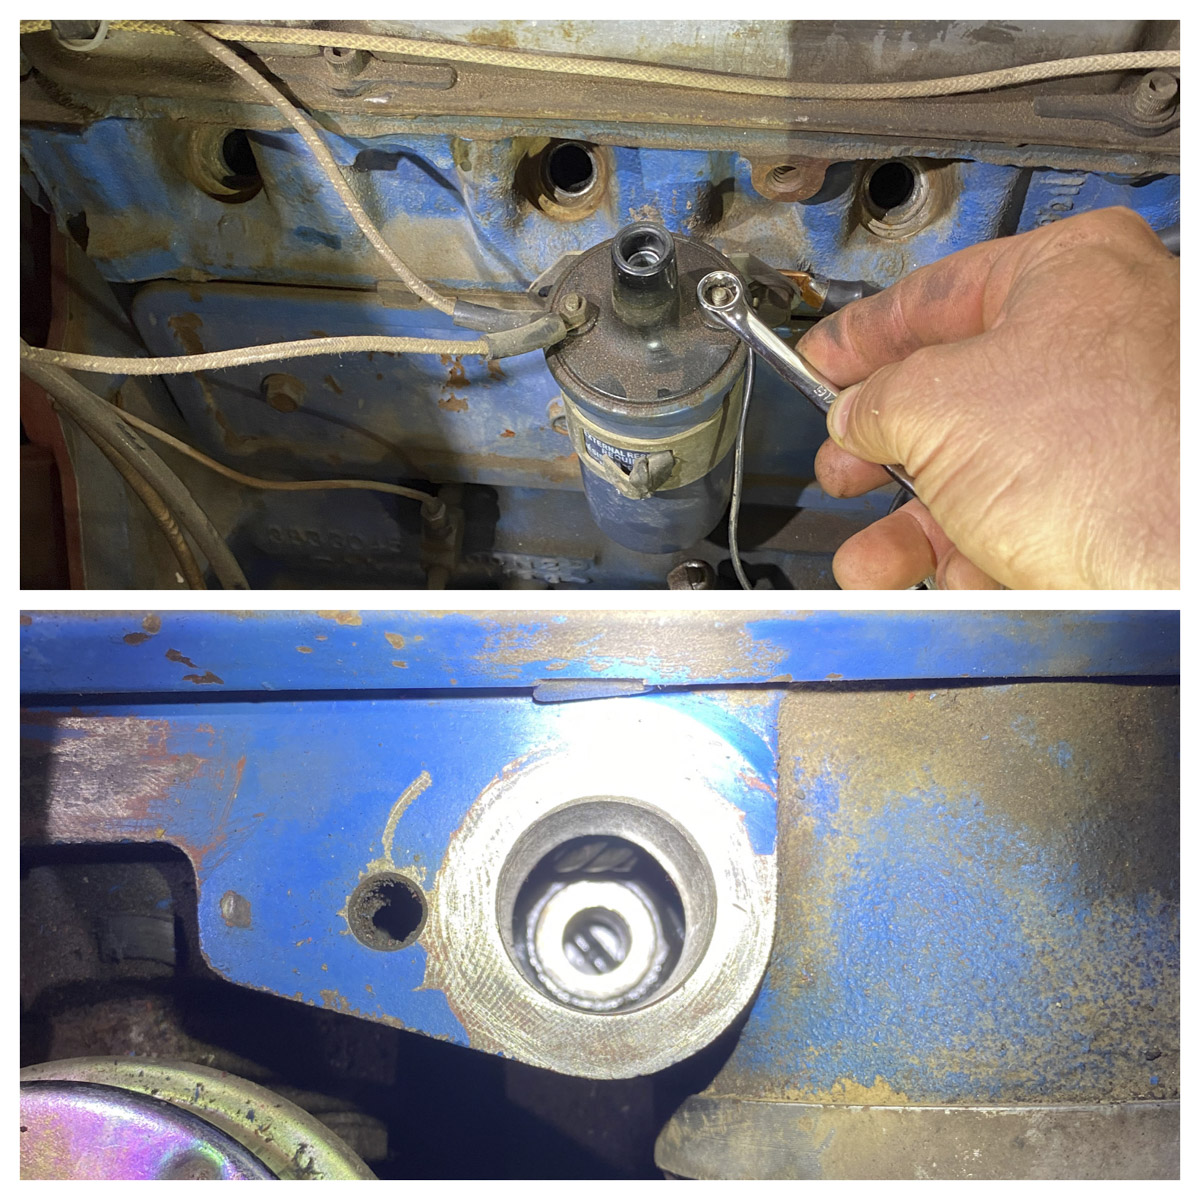
Spark plugs were replaced with new ones. We chose AC Delco Rapid Fire #4s. With the DUI system, you can gap the plugs from .050” to .055.” Before dropping the new distributor in place, we removed the cap and marked the close rotor position and orientation to the original. The distributor was dropped into place, most of the time this takes a few tries. Usually, you have to stick a straight screwdriver down into the oil pump and turn it one direction or the other. Then the hold-down clamp was bolted into position, snug but not tight. Next, the cap was re-installed and plugged back in. The plug wire boots were lubed with the supplied lubrication. Finally, plug wires were placed in correct orientation and rotation (new plug wires are numbered for ease of installation). 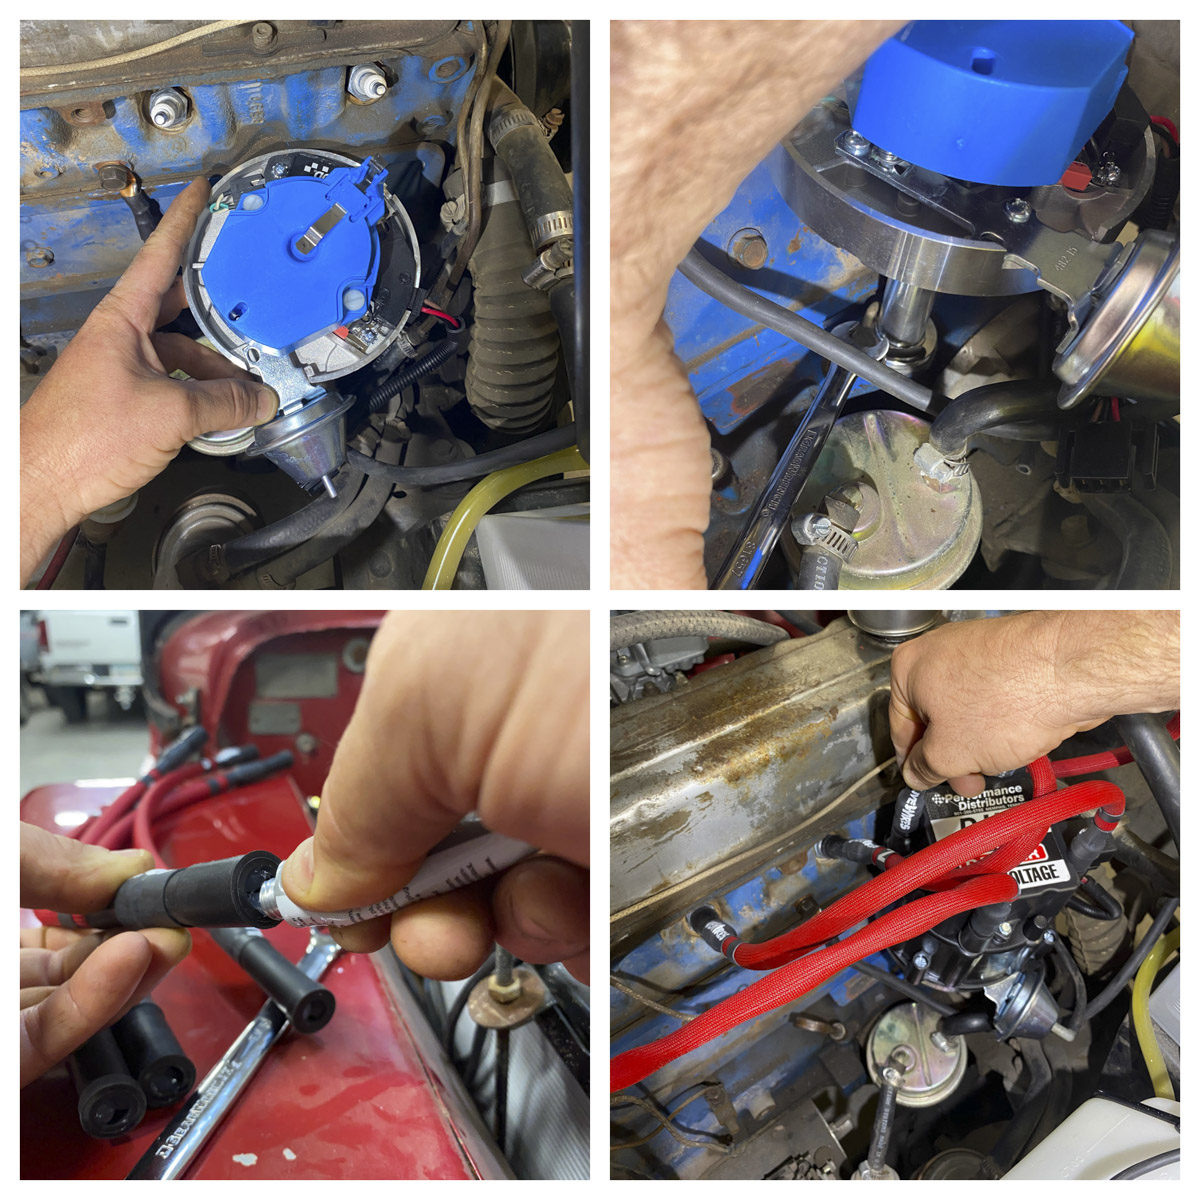
The wiring on an HEI is a straightforward one to two-wire hookup. One is for key-on 12-volt power; normally on pigtails this is red. The other wire is for an optional tach signal. Our Jeep was equipped with a ballast resister, which is no longer needed. So, we tied the red HEI 12-volt wire to the key-on 12-volt side of the resister and removed it. We also ran a wire around the same length hooked to the tach lead, in case we decide to install a tachometer.
To button this whole thing up, the timing needed to be checked and set. Most of the time this is done with the vacuum advance pinched off. We picked up a used timing light from a thrift store several years back that works just fine. Our timing light hooks to the battery and #1 plug wire. With it hooked up, we started the Jeep right up so, we must be pretty close. We shut the engine off and put a white paint mark for better visibility on the timing mark and pulley. This engine’s suggested ignition timing is TDC for standard transmissions or 4 degrees before TDC for auto transmissions. We started the Jeep with the timing light on the timing marks and rotated the distributor to the desired amount of advance. Then we tightened the hold-down clamp and unpinched the vacuum advance. The Jeep was taken for a drive, and what a difference; there was absolutely no hesitation or popping back! This was definitely a positive DUI experience. 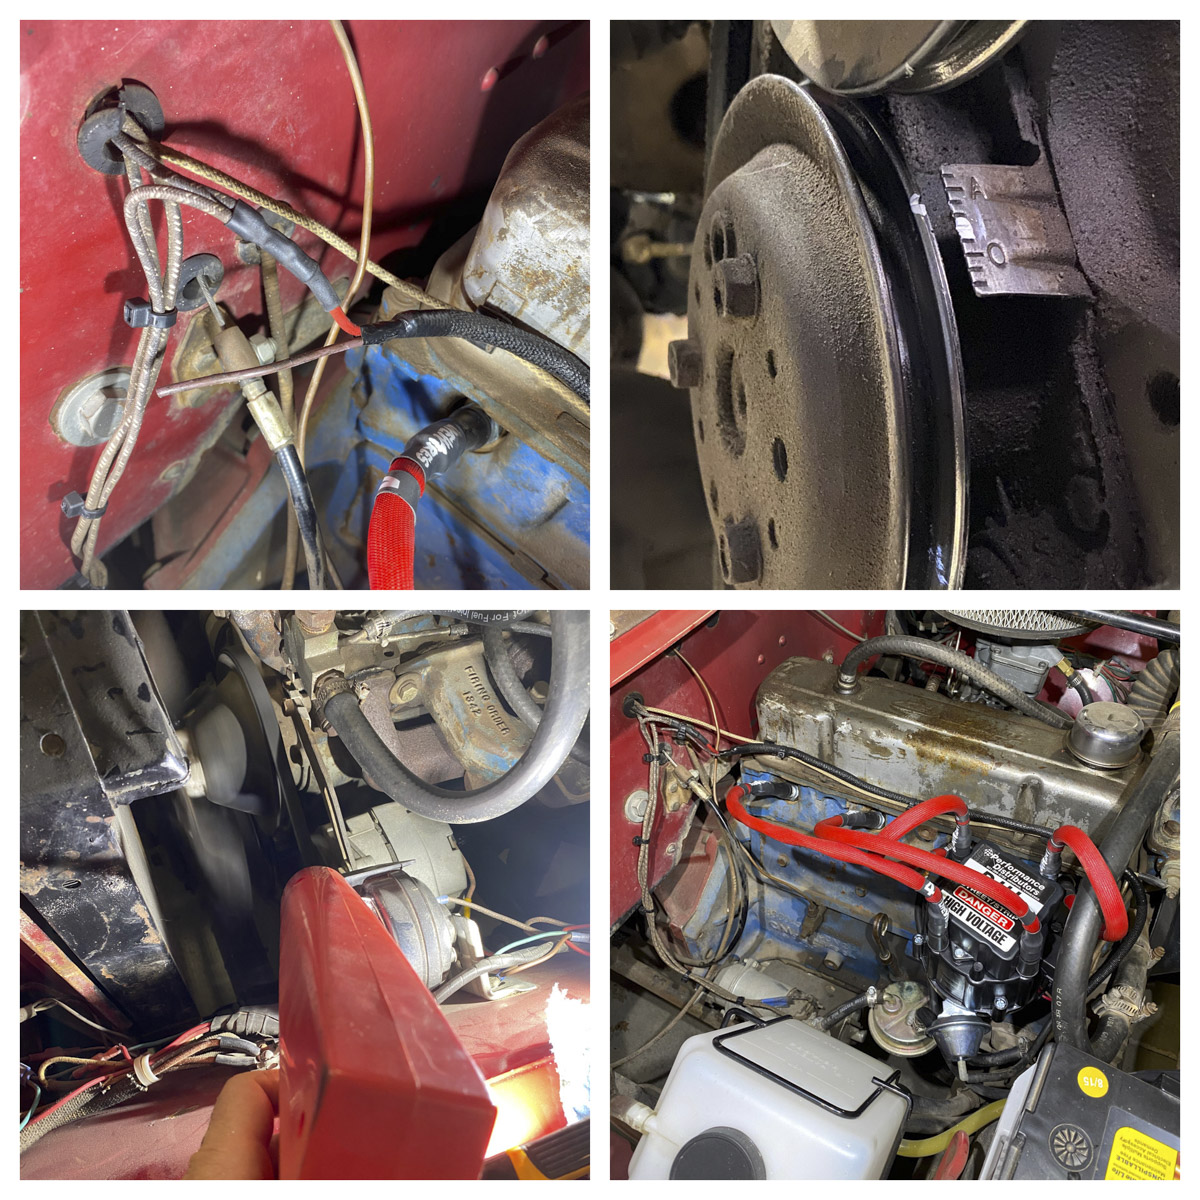
Sources:
Davis Unified Ignition (DUI)
2699 Barris Dr.
Memphis, TN 38132
1-901-396-5782
www.performancedistributors.com
GEARWRENCH
APEX Tool Group
910 Ridgebrook Rd. (Suite 200)
Sparks, MD 21152
1-800-688-8949
www.gearwrench.com
Parts Used:
DUI:
Distributor (53720)
Live Wires (C9025)
Napa:
HEI Pigtails (HRK100)
ACDelco x 4 (4)

