Land Use
Made for Moab; and everything else
Photo and Story: Tom Yash
Additional Images: Chelsea Delany
 In the world of Jeeps, one location is marked on most folk’s bucket list. That location is Moab, Utah, and its surrounding trails. Moab and the four-corner region are littered with extraordinary challenges available for all range of users. For many enthusiasts in the 4X4 world, the challenge is to build a vehicle that can do as many off-road activities as possible, including driving there comfortably. That was the challenge I had in my most recent build, a 2007 Jeep Wrangler Rubicon. It started as a basket case with basically just a body and frame. Starting as a basic blank slate project, the options were wild and wonderful. The lone goal in mind was to make it work well in almost every situation. For that to happen, I needed a great lineup of parts that didn’t break the bank, required low to no service, and were ultimately very reliable.
With that in mind, I’ll take you on a tour of my “Made for Moab” two-door JK and the trails we broke it in on during the 2021 Easter Jeep Safari. 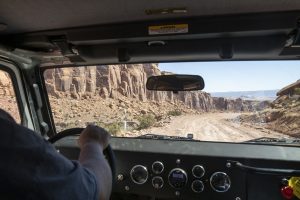
Drivetrain:
For a powerplant, we went to ATK and picked up their 5.3 Performance V-8 – with 400 horsepower and 400 ft pounds of torque, this engine was ready to move. The road days, steep climbs, and required reliability would be no problem with the proven Chevrolet powerplant. The power worked a little too well when trying to “crawl” steeper sections of the trail.
Instead of a nice, controlled, climb the tires would suddenly bark, then erupt in a howl if you weren’t cautious.
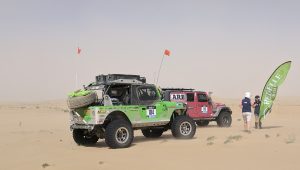 This was no 3.8-liter mini-van motor.
All that power transfers down a beefed-up 4L60E into factory Rubicon housings. I know what you’re thinking… Rubicon Axles!? How do you expect them to survive?
They survived very well with upgraded parts from Solid Axle (Differential Covers), Crown Automotive (Ball Joints), TMR Customs (Truss Kits, front and rear), and J.E. Reel Driveshafts feeding that power. Most of the damage reported with Rubicon axles is on the heavier 4-door models with torsional load/twisting housings. I’m confident in their durability with the lighter 2-door stripped down for weight saving and a modest 37” Toyo tire.
Electrical:
The biggest decision for the build: Do you buy an out-of-box engine control kit that works with the factory ECU? Do you try to run two parallel systems? Or do you gut the girl and make it a hotrod? We went the hotrod route. I’ve seen too many horror stories with the other options and wanted something more reliable and understandable. For me, that was going to be done using the Holly Terminator X kit for the engine/transmission. The entire engine swap was installed easily and was managed via a handheld controller or a laptop. There are online performance tunes available for download, and you can fine-tune on the fly.
We used an off-the-shelf hotrod harness for the rest of the chassis wiring, including a new, CJ-styled, flat dash. 
Radio and gauges were all marine grade in case of mud or inclement weather. And a hotrod steering column replaced the factory setup. Overall, the entire system was super simplified for troubleshooting and reliability.
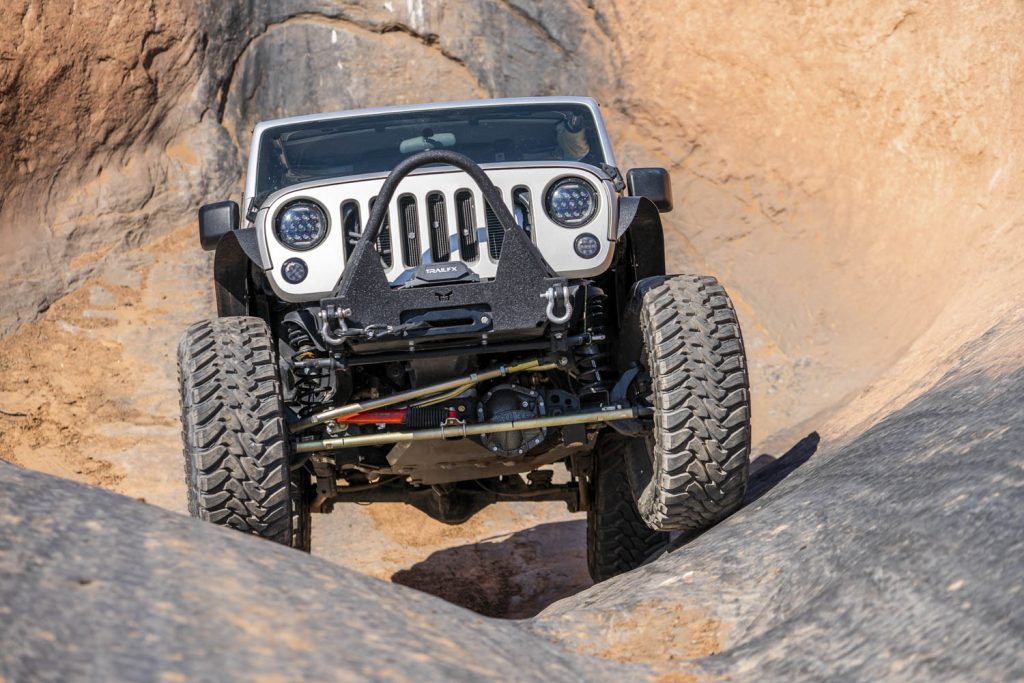
For long trail rides like Top of the World, or Triple Threat (Poison Spider Mesa, Gold Bar Rim, and Golden Crack), the one thing you need to have is excellent suspension. A long day with erratic suspension leaves you with a stiff neck and a headache. For that, we needed a squeak-free, high-performing, low maintenance, and yet super reliable setup; we chose Metalcloak. The front upper/lower control arms were out of the box but extended about an inch for added approach angle and wheelbase. The front axle was centered using a MetalCloak trackbar. Their drag link and tie rod kept it driving straight, and the golden finish matched all the other suspension products. We modified a set of lower arms for the rear to stretch the entire rear axle 5” back. This netted a 101” wheelbase. For the rear uppers, we purchased some builder parts from Metalcloak and built an upper triangulated 4-link suspension. To keep us from bouncing around, we mounted the Fox 2.5” IBP shocks at each corner. In the rear, we outboarded them for better ride quality. Overall, lift height was somewhere near 1.5”. Spring buckets were modified to accomplish these heights and maximize overall suspension travel. The entire combo worked great together and kept the trail ride very comfortable and issue-free.
Bumpers and Armor:
For bumpers and armor, we went all TNT Customs. The approach angle on their front Bumpers is intimidating. Because of the compact design, we did have to remote mount the winch controller for fitment/access. The engine, transmission, and transfer case were all protected using TNT Customs belly armor. Finally, TNT put the “Custom” in this build with their JK stretch corners and rockers. This combo really makes the Jeep look near stock, in my opinion. The right “Jeep Eye” may notice the overall wheelbase change, but most don’t. Folks who did, laughed and complimented the look saying, “you really tried to make it look like you didn’t do anything to it.”
As said prior, this was a comfortable ride. The power was impressive, and there wasn’t a single noise from the suspension outside of an infrequent coil spring popping back into place. The biggest drawback the vehicle had was fuel economy. With only a 15 gallon tank mounted behind the rear axle, we were concerned about running out of fuel on one of the longer trail rides. Thankfully we kept a five-gallon can ready for backup. The wheelbase was perfect for my trail choices and most climbs/descents. 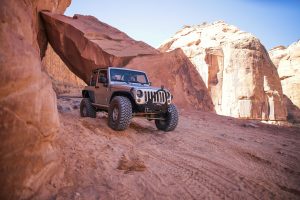
I need to thank Jon at Rensselaer County Customs in New York for doing the heavy lifting on this build.
His dedication to the final product paid off on its maiden voyage . . . Moab.

