Tech
LIGHTEN THE RIDE OF YOUR RIG
By Christian Sturtz, [email protected]
Photos by Christian Sturtz
Aftermarket suspension systems typically use one of three end types on their suspension links. These three types of ends are rubber bushings, polyurethane bushings, and ball and cup flex joint design. All three have different strengths and weaknesses. Some companies use two types of ends on their suspension links to benefit from the strengths of both types.
Rubber bushings are vibration and noise dampening, dependable (when new), simple, and relatively inexpensive. However, rubber bushings are fairly rigid, can limit the suspension flex/travel, dry up/break down (with age and use), and usually require special equipment (hydraulic press) to install.
Polyurethane bushings are stiffer than rubber and provide a more positive road feel. However, their stiffness limits the suspension flex/travel. They are inexpensive, although more expensive than rubber. They usually require no special equipment or tools for installation.
We will refer to the ball and cup flex joint design as flex joints. Flex joints usually have a steel/stainless steel ball construction with a softer material used as the cup material (some do have steel cups). Flex joints often transfer at least as much noise and vibration as polyurethane bushings. The ball and cup design allow for twisting and rotating of the ball in the cup for smooth suspension travel and flex. However, they are more complicated because they have moving parts, and though they are dependable many require maintenance. Flex joints are the most expensive option and often require manufacturer-specific tools for service or are not serviceable.
What if you could get a link/bushing that had the best characteristics of all three? Metal Cloak’s Duroflex bushing is the answer. It has high vibration and noise dampening properties, as well as plenty of flex, both rotationally and transversely. They also are low maintenance and serviceable/rebuildable.  Metal Cloak offers products for CJ, YJ, TJ/LJ, JK, JL, and JT models.
This article will overview the installation of Metal Cloak dual adjustable aluminum arms on a TJ/LJ model Jeep. We went with the big bolt option on the upper control arms, which enlarges the bolt size on some mounts. We are also installing a rear track bar and bracket. Due to our Jeep’s front geometry, the Metal Cloak front track bar was not compatible. 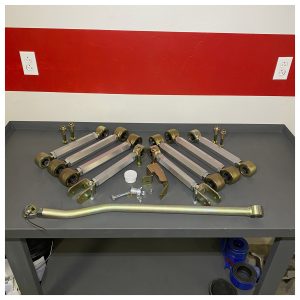
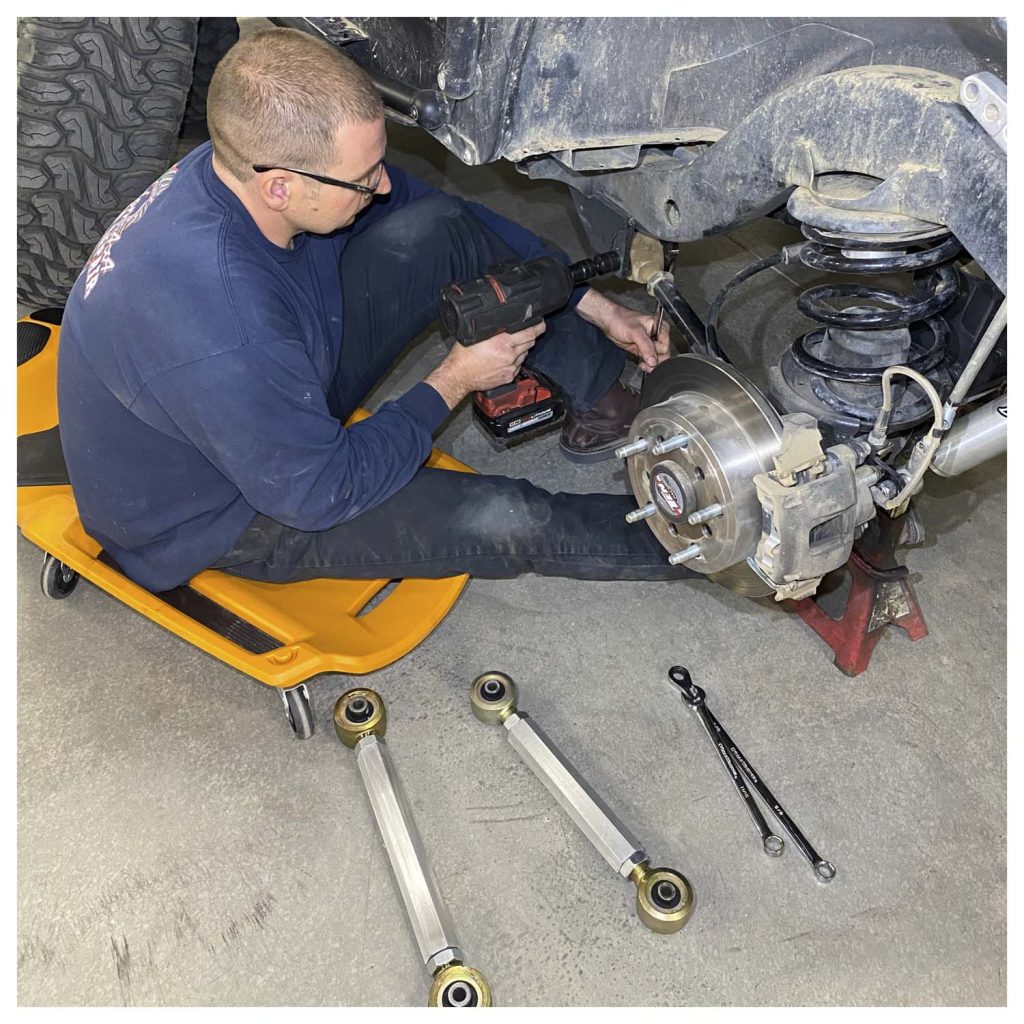
We started by unscrewing the Duroflex joints/ends out of the links and track bar. Then applied anti-seize to the inside threads. We adjusted the joints and ends so the same amount of threads were showing on both ends. The links, with their dual adjustable design, have a right-hand and left-hand side/joint. The left-hand side of the link is marked with a “-“ mark. We planned on installing all of our links with the left hand threaded side towards the frame. Next, a link is unbolted and removed. It is not necessary to remove the tires – we just did this for visibility. The removed link is measured, and the new replacement link is adjusted to the same length as the old one. We did the adjustment with both joints on the bench and turned the link to keep the same amount of threads on both sides of the link. Finally, the new link was installed and tightened. We left all the jam nuts loose until the links were all installed and the adjustment was checked.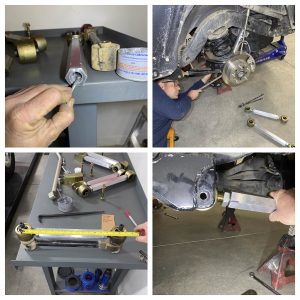
The rest of the links were replaced using the same one-at-a-time process. The mounting holes need to be drilled out to ½” on the rear upper links, both sides, and the front frame side upper links. It may be necessary to jack up on the pinion or back/front of the differential to get the bolts back in. With their dual adjustable design, they could also be bolted into the vehicle and measured/adjusted in place or adjusted some to get the bolt lined up and then re-adjusted to correct length. Your original links’ length is a good starting point; check driveline and caster angle to confirm adjustment. After our adjustment was confirmed, we tightened the jam nuts with Metal Cloak’s hex tool (part# 8994). It is important to keep the bushings in a neutral position, don’t let it twist and become misaligned when the jam nuts are tightened. It may take you a few tries to figure out. 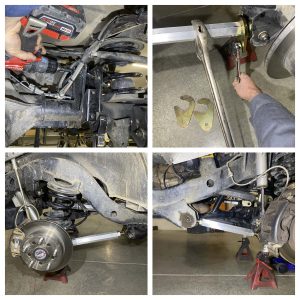
For the rear track bar and bracket, we started by unbolting and removing the original rear track bar. The new track bar was adjusted to the length of the original track bar and set aside. Then the new track bar bracket was installed on top of the original bracket on the differential housing. The new bracket bolts through the original track bar location hole, with a supplied spacer, and requires you to enlarge two holes before installing the bolts and nuts. Next, the new track bar was bolted into position but not tightened. The final track bar adjustment was checked, which is done by placing a straight edge across the tire and measuring from the frame and body on both sides. You are trying, with adjustment, to get the same measurement on both sides. If it is not less than 3/16” difference, adjust accordingly. Then tighten up the bolts and jam nuts with the ends in a neutral position. Once you remove the rear track bars on TJ/LJ models, it can be hard to get the bolts lined back; try using a ratchet strap (or two) to pull the body one way or another to get the holes to line up. 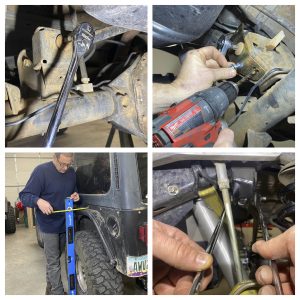
Metal Cloak has it figured out! On our test drive, the ride quality and suspension noise were much improved. Bumps that would generally make you tense up are manageable now. Flex and travel of the suspension are smooth and quiet. This install has definitely lightened the ride of the rig.
Parts Used:
Metal Cloak:
Track Bar/Bracket (7046)
(2) Lower Control Arms (7054)
Front Upper Control Arms (7076)
Rear Upper Control Arms (7077)
Tools Used:
Metal Cloak:
Crowsfoot 1 ½” Wrench (8994)
Sources:
Metal Cloak
2484 Mercantile Dr.
Rancho Cordova, CA 95742
1-916-631-8071
www.metalcloak.com
GEARWRENCH
APEX Tool Group
910 Ridgebrook Rd. (Suite 200)
Sparks, MD 21152
1-800-688-8949
www.gearwrench.com
