Tech
It’ll Always Fit
Originally Published in Issue 33 of 4Low Magazine
Make sure to subscribe to get the newest issues of 4Low Magazine right to your mailbox. CLICK HERE
By Christian Sturtz, [email protected]
Photos by Christian Sturtz
Often during a vehicle build, you have a choice. Do you pick a look where the products are all designed and manufactured by the same company, or do you mix and match products and pick out what you want? Sometimes, the uniformity of one manufacturer’s product across the board looks nice, but it can also mean your rig looks like everything else out there.
On this LJ, we wanted to do something different than the traditional rock sliders, and because it is being built as a family-style rig we wanted a few more creature comforts. The product that we were immediately drawn to were the Rock Slide Engineering retractable step sliders. We knew they would work with OEM fenders or OEM type replacement fenders, but the real question was, would they work with a different manufacturer’s body protection and fenders?
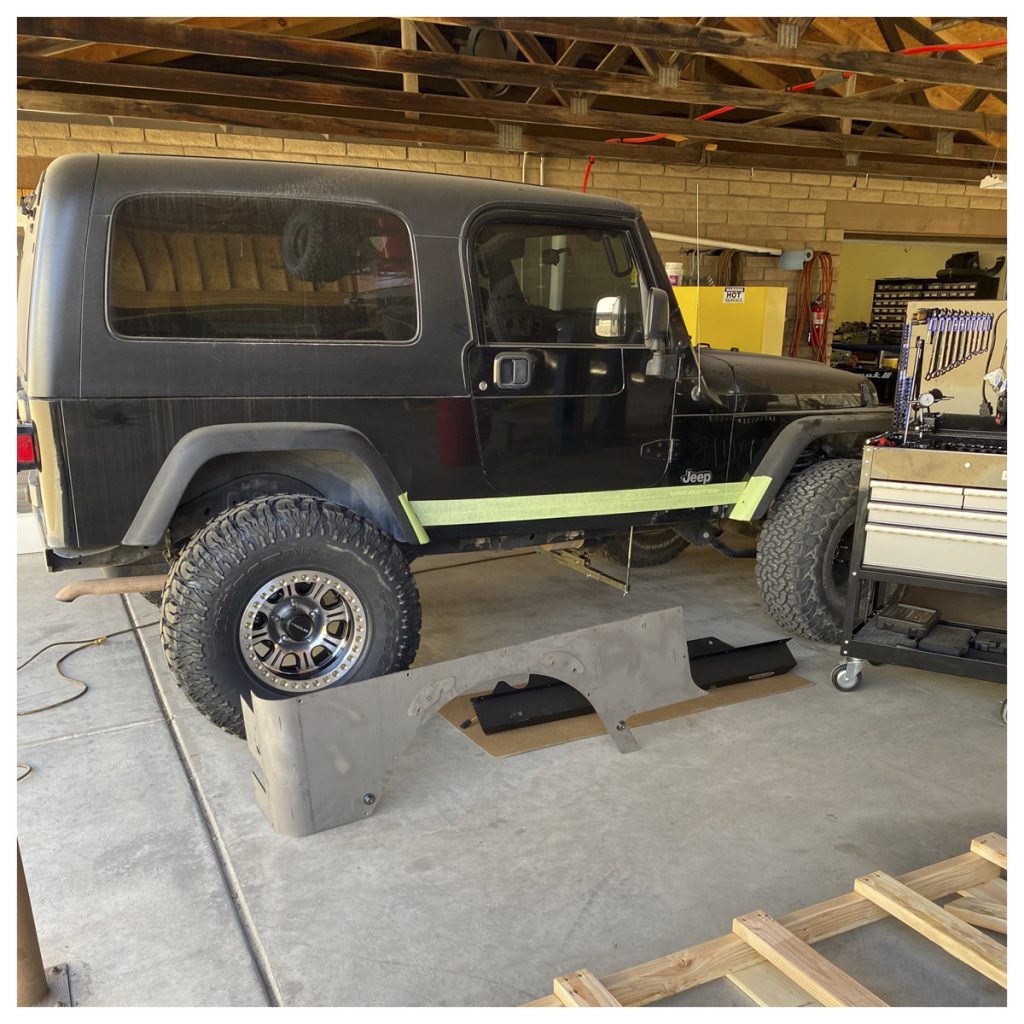
We chose to go with MetalCloak rear extended corner guards with a 4” fender and the front arch fenders with a 4” flare. So, will they work together with no modifications? Sadly they will not. It was a few days of cutting, welding, drilling, and grinding, but we ended with something that we believe does justice to both great companies. 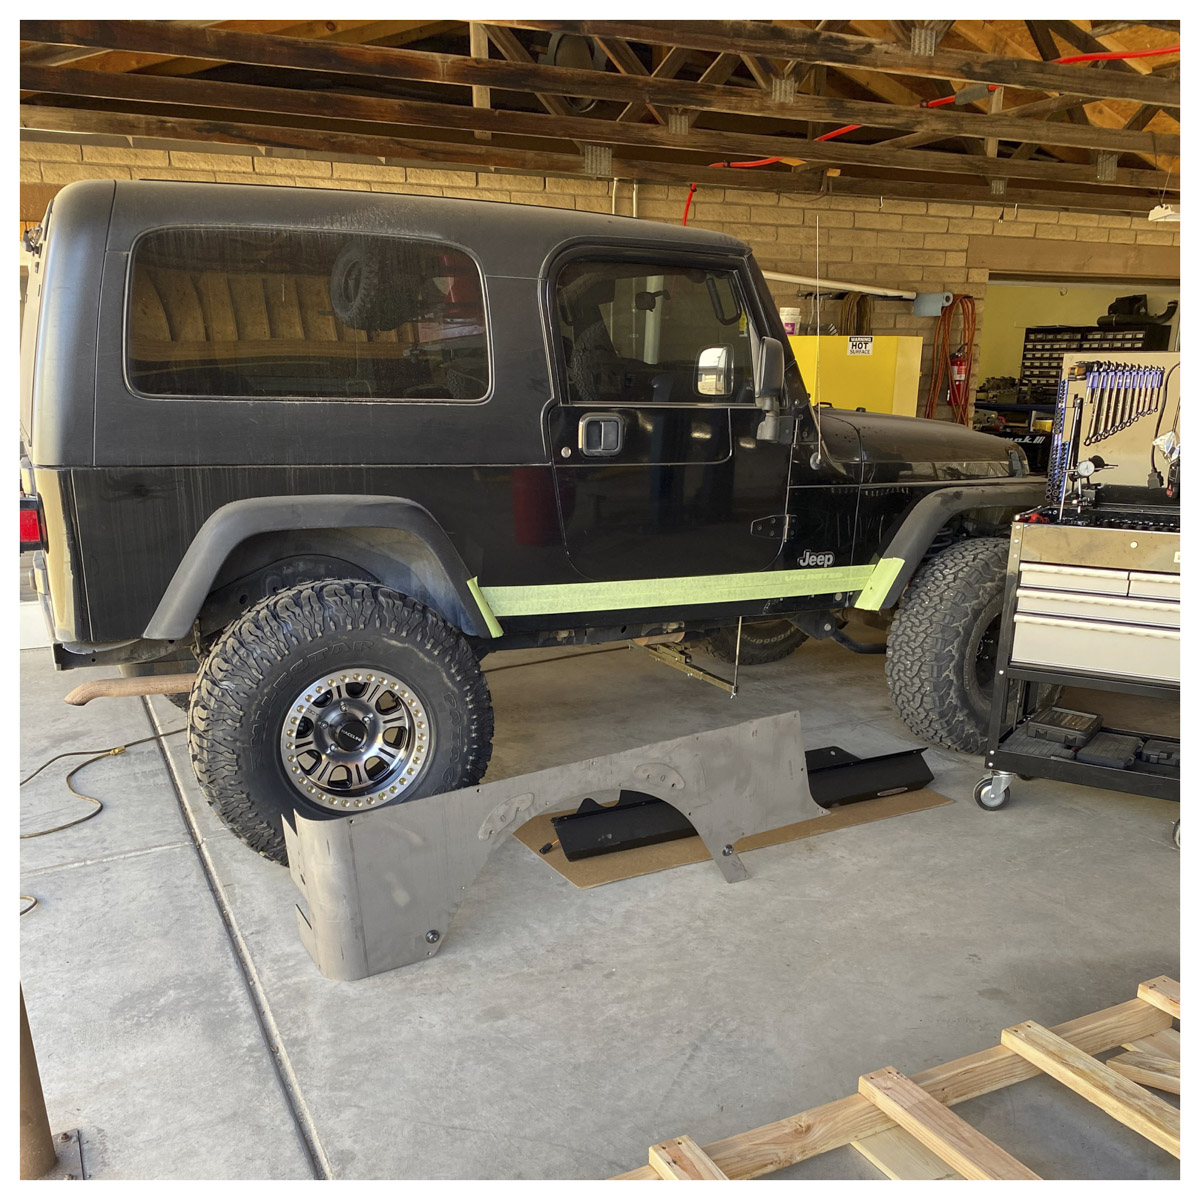
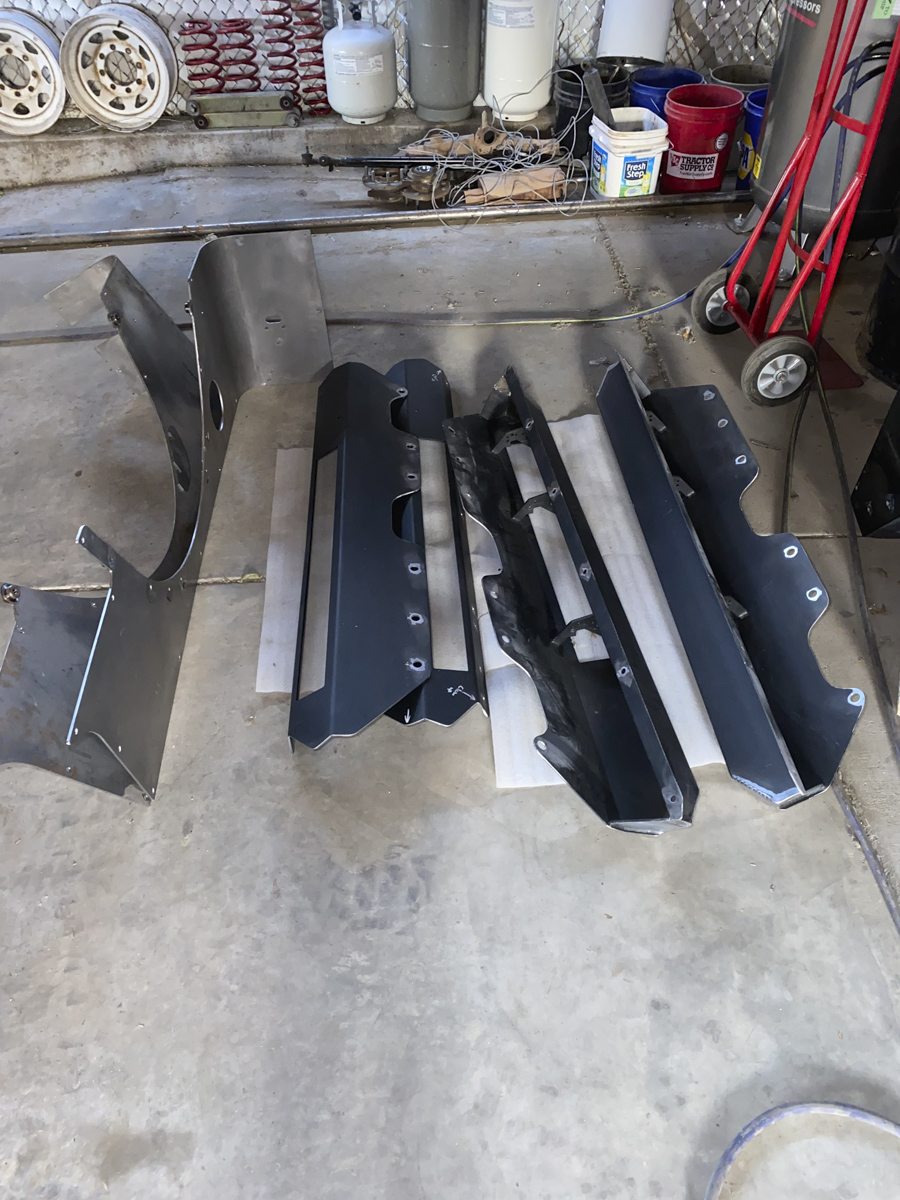
We thought the best plan of attack was to start at the rear and work our way forward. So, we removed the stock fender flares from front/rear and rear fender liners. Then the MetalCloak corner guard was clamped into place, and the fitment of the slider was checked. We could see right away we were going to have some work ahead of us – the angle of the slider and the corner guards were totally different. So, with the corner guards still in place, we traced the edge of the corner guard. The template was then cut out and transferred to the slider. After cutting off the template edge, the two ends matched up almost perfectly. The only problem was the end of the slider, and the ball on the fender flare was extremely close, which would make it difficult to remove one without the other getting damaged. Then we notched the backside of the slider with a carbide bur to see how much we needed to trim off. It ended up being right at 9/16.” The line was marked with tape and cut. 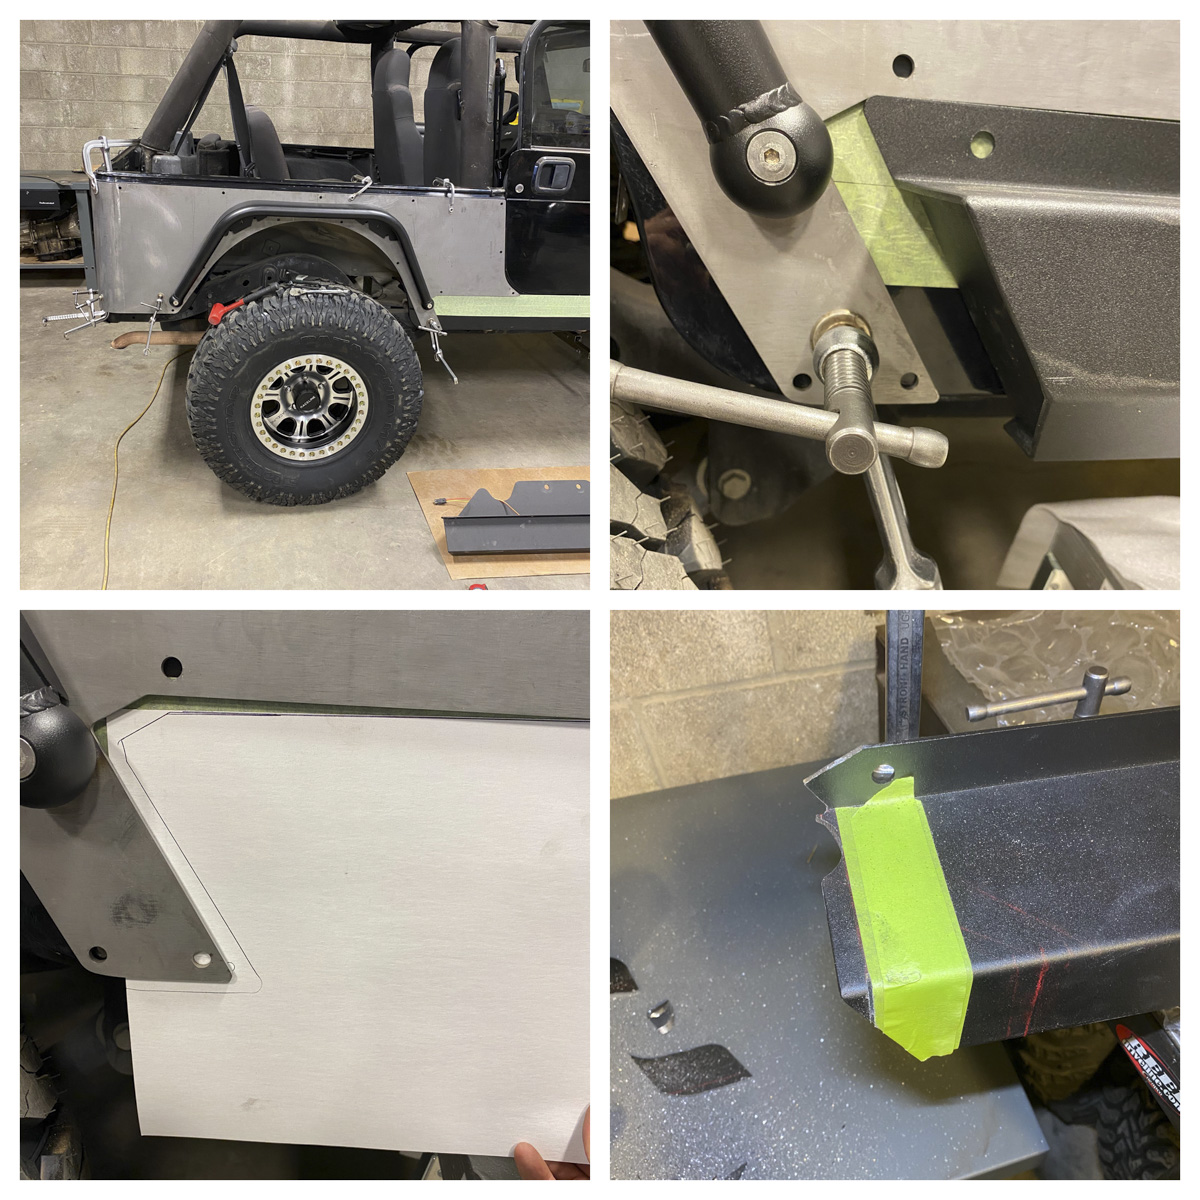
The original front fender was removed, and the arched MetalCloak fender was installed. Then some careful measurements were taken, and we cut 1 3/8” off the front to give us adequate clearance around the ball on the front fender flare. To us, the squared-off edges on the Rock Slide Engineering sliders did not look right with the aftermarket fenders. So, we decided to miter cut them to match the front bumper and flow better with the vehicle lines. Then the front and rear angles were carefully measured out, laid out with tape, and cut. Finally, the fitment was checked. 
After making sure the sliders fit, the top holes for mounting the slider were marked for drilling. Then the sliders were removed, and we cut out templates to cap the mitered sections we cut off- these were cut out of 3/16” steel and welded in. We also cleaned up the radiuses and square edges. While the slider was off, the body holes for mounting were drilled, and the thread inserts were installed. It is important after the thread inserts are installed to counter-sink them, so the panel does not bulge. We also marked and drilled for the rear corner guards and bolted them in place. 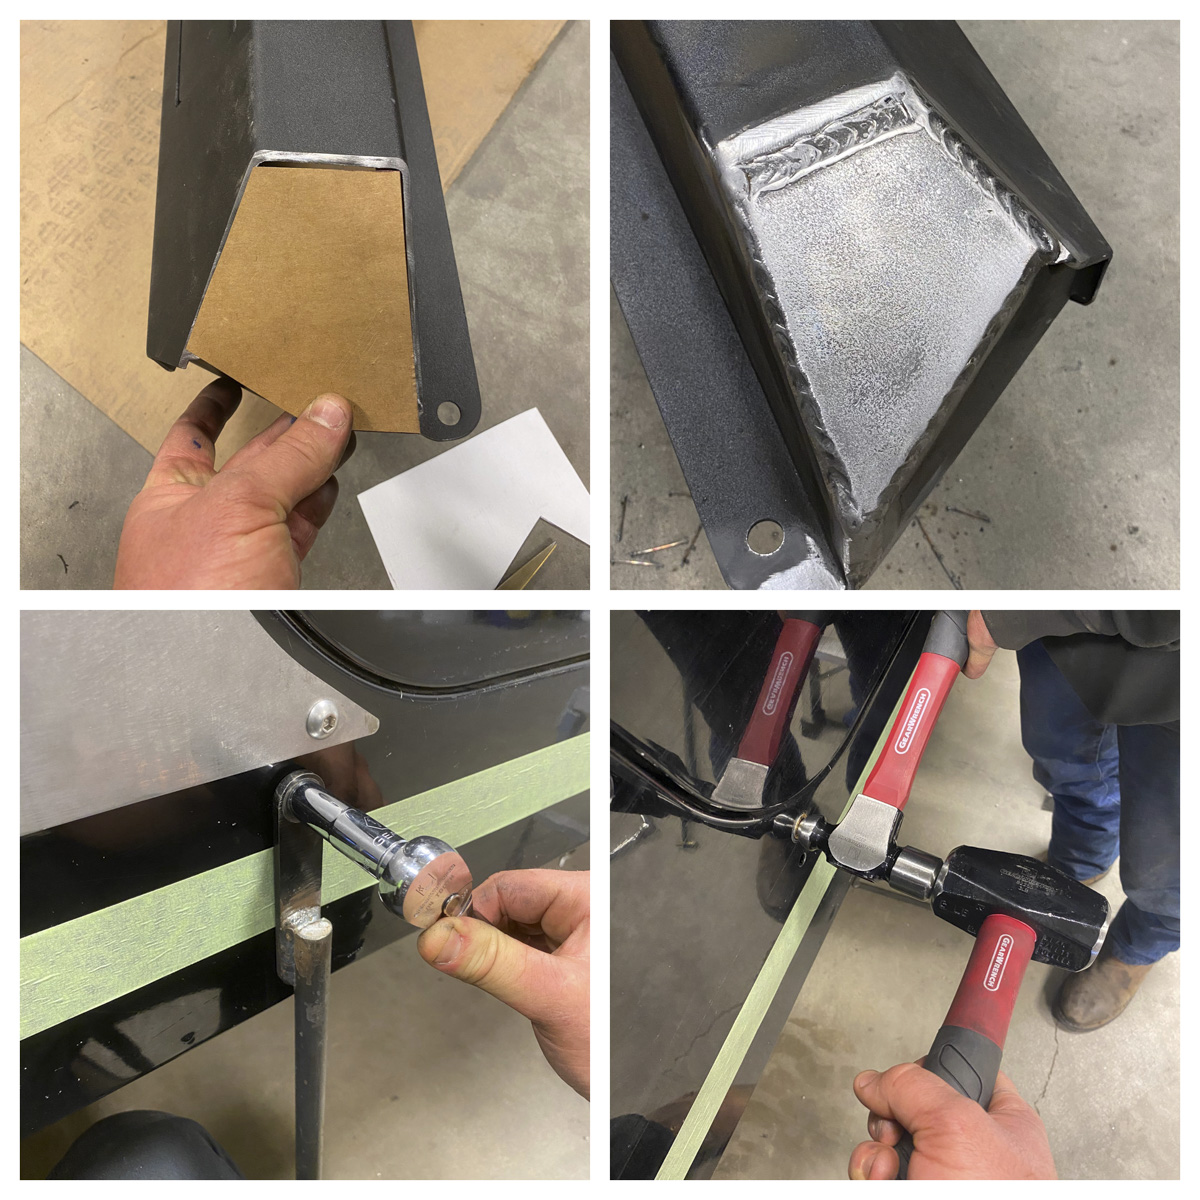
The next step was to look at what was going on underneath with the opening for the cab mounts. Turns out, they were way too close and off-centered. We needed to open these up 2 ½” on the front side of both. Also, two of the factory lower mounting holes did not line up or were right in the middle of a hole. We had to mark out and re-drill two new holes that would work. For all of this work on the bottom of the slider, we removed the step and motor. Because we ordered the sliders with an additional skid plate, the bottom slider modifications also had to be done to the skid plate, along with cuts to match our newly mitered edges. Then the outer 2 mounting holes on the skid plate needed to be moved along with the Rock Slide badge. 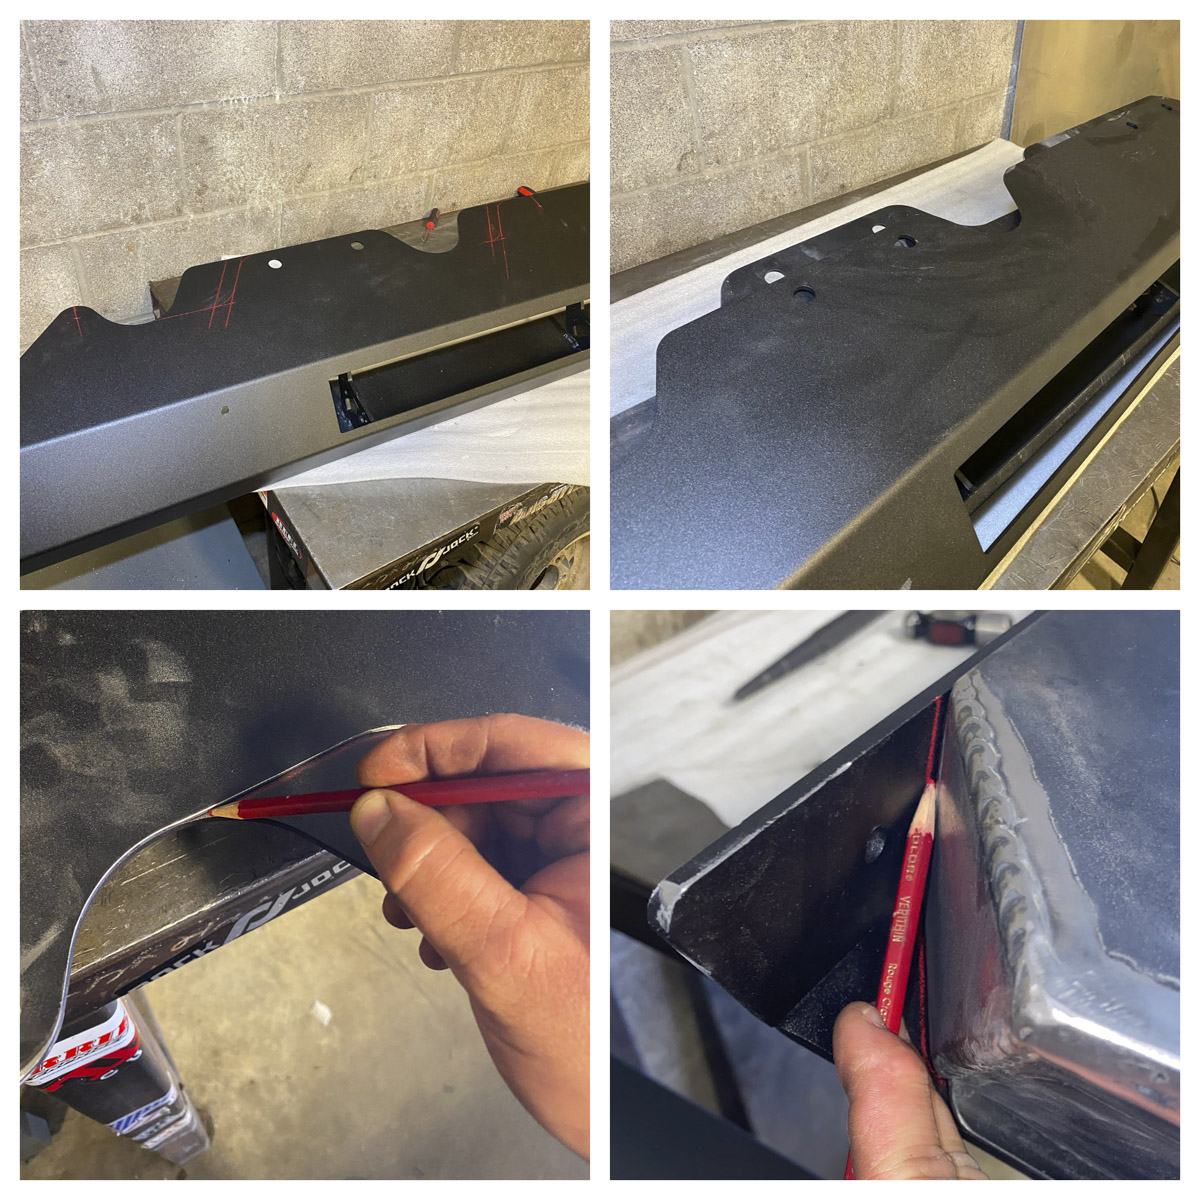
The last step was to install the nut inserts on the bottom of the tub. These use a different type of insert that work better if you drill the hole to ½” instead of 17/32.” After bolting the slider back on the Jeep, it was pulled as square to the body as we could get it and the lower mounting holes were marked. The slider was then removed, holes were drilled, and the inserts were installed. The back two lower holes require a spacer to be installed between the body and the slider. The bottom bolts are hex and use fender washers- we added an additional 5/16” washer for less deflection of the fender washer. 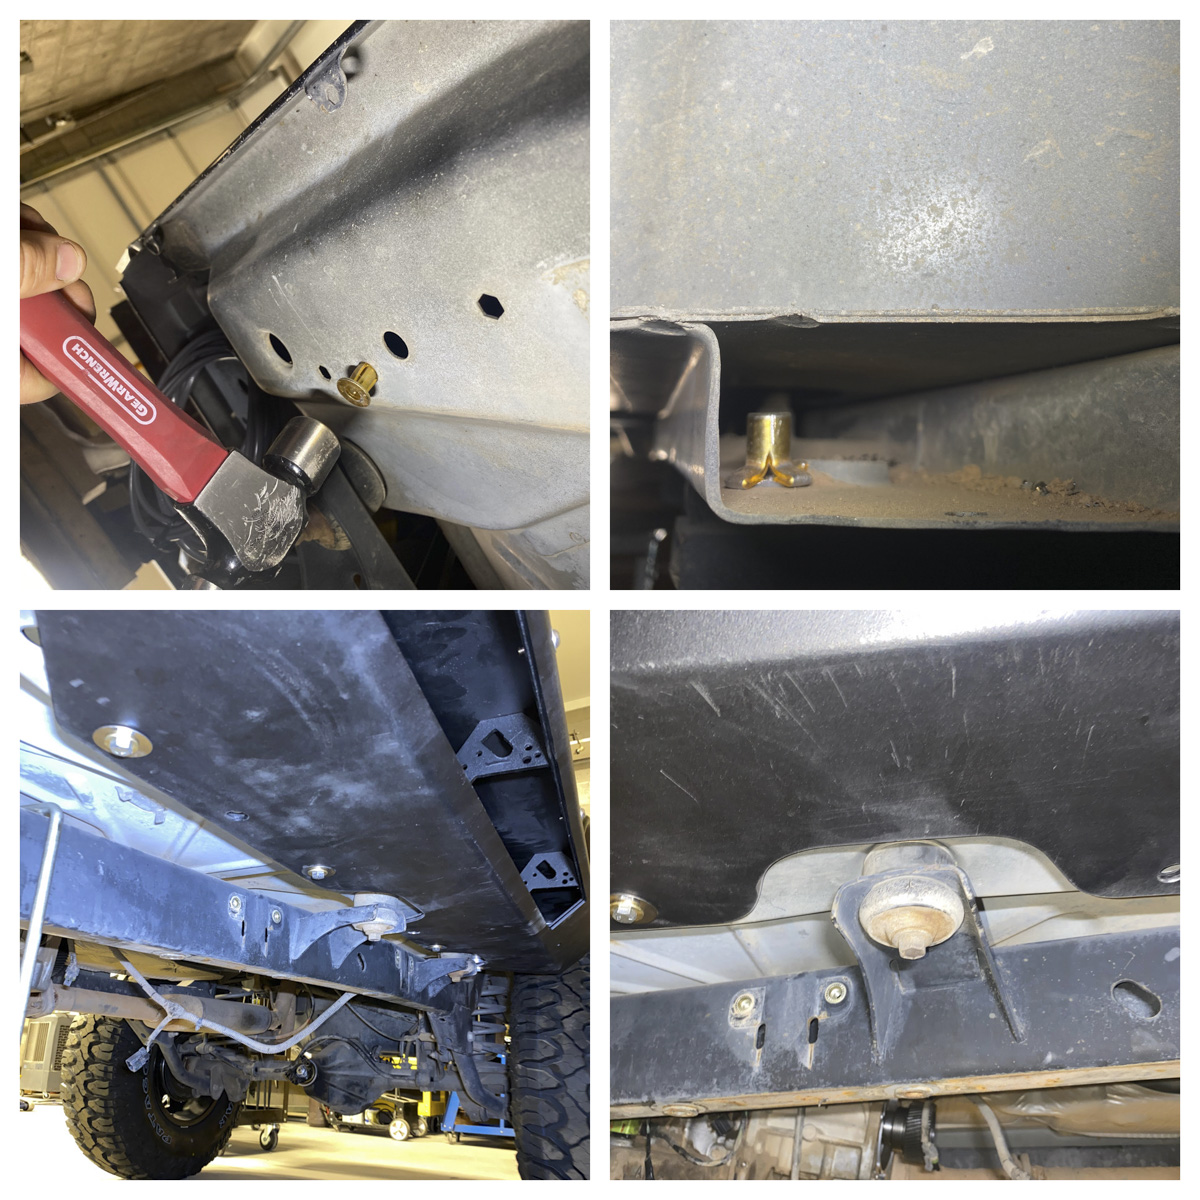
The wiring is pretty basic for these steps. The directions are fully covered in the instructions. As you can see in the picture, it turned out great… It’ll always fit. 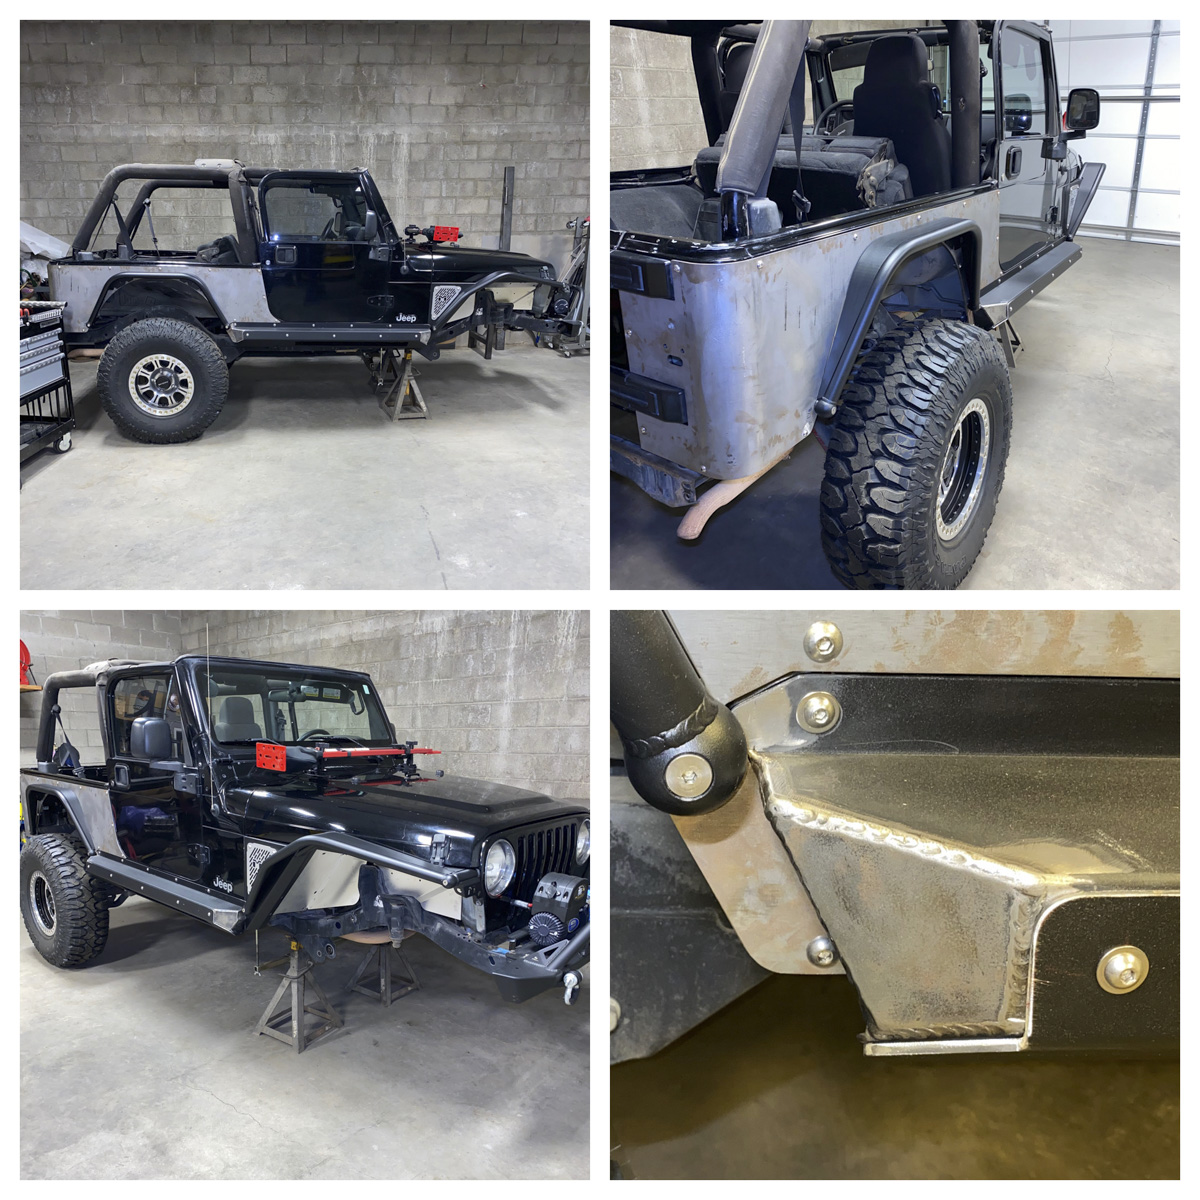 Now, off to powder coat.
Sources:
MetalCloak
2484 Mercantile Drive
Rancho Cordova, CA 95742
916-631-8071
www.metalcloak.com
Rock Slide Engineering
2561 North 200 West
North Logan, UT 84241
435-752-4580
www.rockslideengineering.com
GearWrench
Apex Tool Group
910 Risgebrook Rd, Suite 200
Sparks, MD 21152
800-688-8949
www.gearwrench.com
Parts Used:
Metalcloak
Rear corner guards extended: Part #2440
Rear flares: Part #2424
Front arched fenders: Part #2210
Front arched flare: Part #2240
RockSlide Engineering:
Sliders: Part # BD-SS-100-LJ
Slider skids: Part #AX-SS-SP-LJ
