Tech
STEERING THAT IS FORGIVING
By Christian Sturtz, [email protected]
Photos by Christian Sturtz
A challenge, as your off-road daringness increases, is how to keep your steering safe. Factory steering is designed to safely get your vehicle down the road or on modest trails with original sized tires. Nothing can put a halt to your family outing faster than catching your steering on a rock and bending it. Bent steering can render your vehicle immobile and lead to a lengthy trail repair. Don’t spend your time on the trail working on your rig; instead, spend it driving your rig.
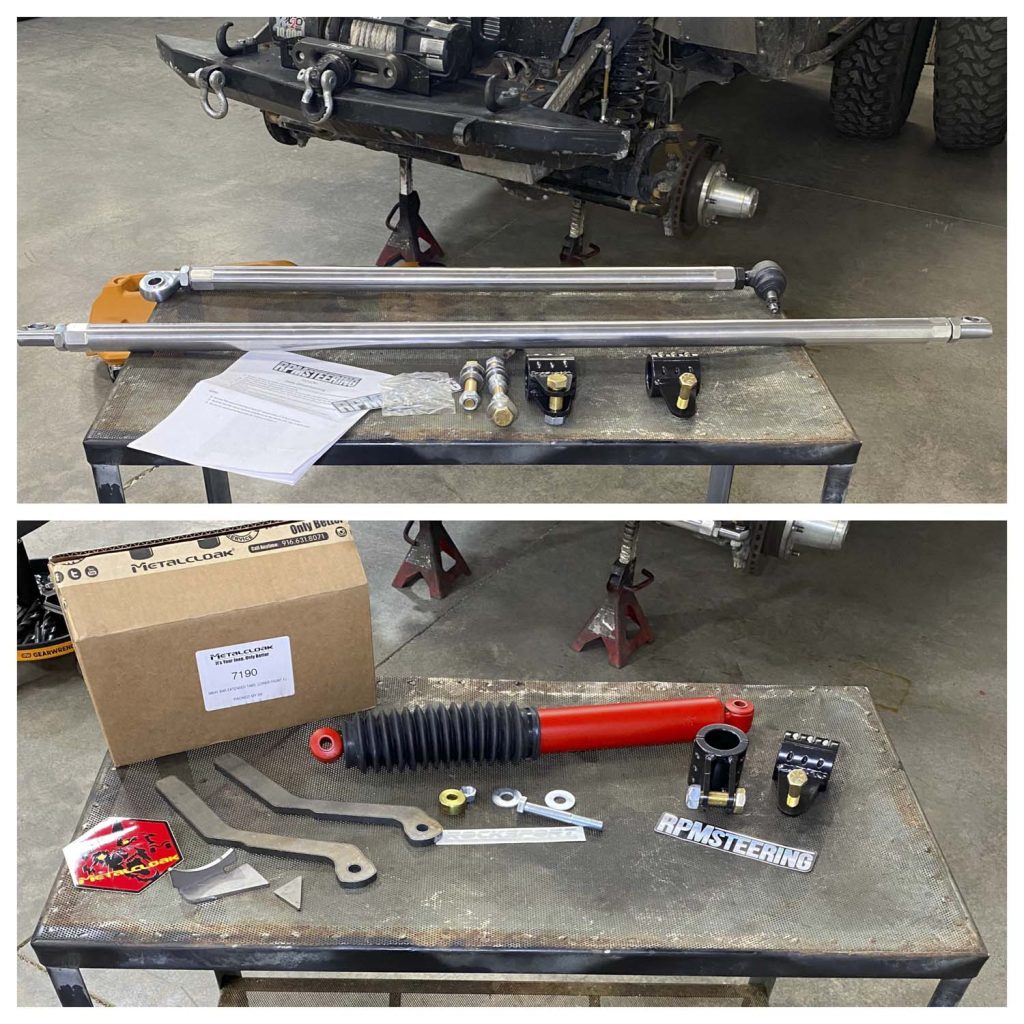
RPM Steering has a solution for many Jeep factory applications as well as axle swap applications. RPM can help with all custom applications. Most RPM Steering center links are constructed from 1.5” or 2” 7075 T6 aluminum, which is known for being a strong, durable alloy that will bend and return to its original shape; it’s forgiving. RPM Steering kits are featured with heavy-duty tie rod ends, or rod ends, depending on application. RPM Steering offers a limited lifetime warranty on its center links. 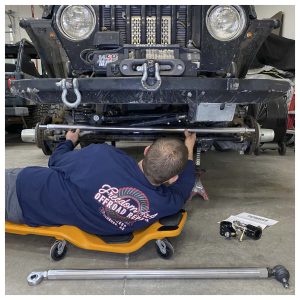
We are going to review the installation of a TJ/LJ aluminum steering kit by RPM Steering. Some highlights and benefits of this kit are 1.5” solid 7075 T6 aluminum center link construction; hex ends that aid in adjustment, and a 7/8” Chromoly offset rod ends. RPM also offers clamp style steering shock or ram assist mounts. If your vehicle is equipped with a sway bar, the axle mounts will have to be replaced or modified for clearance. Check out the article titled “Tons Too Much” in Issue 26, where we installed Metal Cloak extended sway bar link mounts. The Metal Cloak extended sway bar links worked in this install with little trimming. The Jeep we are working on has a modified crossover style steering on it, so the disassembly will be almost identical to a stock-y type steering set up. 
We started by straightening the steering wheel and tires, then jacking up the front axle and putting it on jack stands. We removed the front tires. Then the cotter pins and castle nuts were removed from the tie rod ends at the pitman arm and each knuckle. Next, the tie rod ends were removed from their tapered holes (*Tip: if you are not worried about the original tie rod boots, a pickle fork is the fastest tool for the job). We wanted to keep the boots intact, so we removed the pitman arm with a puller and used a tie rod separator to pop the tie rods out of their tapers. A hammer may also be used on the side of the pitman arm or knuckle to jar the taper loose by hitting parallel to the tie rod stud. Finally, the steering stabilizer must be removed from the steering linkage and the front axle mount. Our Jeep did not have a steering stabilizer. 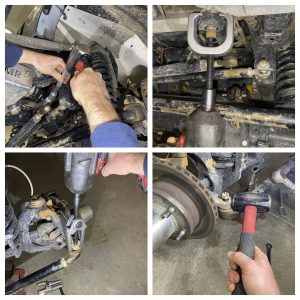
The knuckles were drilled out to 5/8”. The pitman arm was bolted back into place, the new drag link (tie rod end side) was bolted into the pitman arm, and a cotter pin was installed. If you remove the pitman arm, be sure to put it back in the same location that it was removed from. Next, the supplied bolt was slid through the high misalignment spacers, 7/8” rod end, and into the passenger side knuckle. Finally, the clearance was checked by turning the knuckle right and left. Our draglink was fairly close to the axle side sway bar mount, so we decided to clearance and gusset it. We trimmed about ¼” off the passenger side mount and used a piece of ½” solid rod to strengthen it back up, leaving more room that could be trimmed off if necessary. 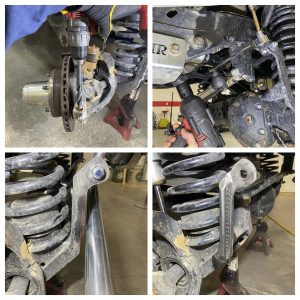
The short misalignment spacers were placed in both rod ends on the new tie rod. Then the tie rod was bolted into position under the knuckles and torqued. Next, the tires and wheels were bolted back on, and clearance was checked. We definitely had a clearance issue so we installed some 1 1/4” wheel spacers by Spidertrax Off-Road to allow the 7/8” rod ends to clear our wheels. 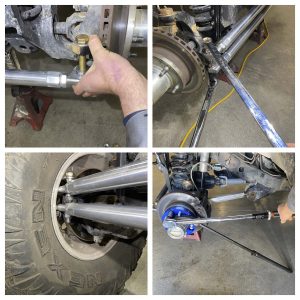
Before installing the steering stabilizer, we wanted to adjust and set the steering. We used a wheel alignment tool by Iron Rock Off Road (part# 13382). This tool is useful, especially when working by yourself. We gave it ¼” toe-in and tightened the jam nuts with the rod ends in a neutral position. Then the tires and wheels were reinstalled, the vehicle was taken off the stands, and the steering wheel was roughly centered. This is done by getting the tires straight with the vehicle and turning the drag link one way or the other until the steering wheel is straight. If the steering box and tires are centered still, this shouldn’t take much to get it close. Next, the drag link jam nuts are tightened with the tie rod end and rod end in a neutral position. To get the wheel centered perfectly, the vehicle will have to be driven down the road, and the steering wheel marked. Before driving, be sure everything is tightened and that there is the same amount of turning ability right and left with the steering wheel. Finally, take it for a drive. On a smooth straight road, mark the top of the steering wheel to let you know where it is when you are driving straight. Bring the vehicle back and put the mark on the steering wheel straight up with the tires straight, then adjust the drag link until the steering wheel is straight. Recheck the tightness and torque of everything.
The steering stabilizer is now positioned and bolted into place with the optional clamp mount by RPM (part# RPM-4000). On our application, this was a little tricky to make everything clear. Make sure that the shock is adjusted, so it has enough travel in both directions and doesn’t hit anything throughout the suspension travel, turning right to left. The RPM Steering kit is a well thought out product that can handle the abuse of any family outing and get you home safely. Now you have steering that is forgiving. 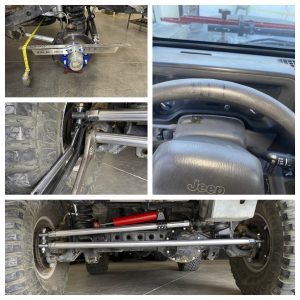
Parts Used:
RPM Steering:
Steering Kit (RPM-1013)
Stabilizer Clamp (RPM-4000)
OR
Ram Clamp (RPM-4002)
Spidertrax:
Wheel Spacers (WHS003)
Metal Cloak:
RockSport Steering Stabilizer (7135)
Extended Sway Bar Mounts (7190)
Tools Used:
Iron Rock:
Wheel Alignment Tool (13382)
Sources:
RPM Steering
5869 S. Kyrene, Ste 11
Tempe, AZ 85283
1-480-476-2073
www.rpmsteering.com
Spidertrax Inc.
174 12th St. SE
Loveland, CO 90537
1-800-286-0895
www.spidertrax.com
Metal Cloak
2484 Mercantile Dr.
Rancho Cordova, CA 95742
1-916-631-8071
www.metalcloak.com
Iron Rock Off Road, Inc.
12906 Venture Court, Ste 6
Shakopee, MN 55379
1-877-919-5337
www.ironrockoffroad.com
GEARWRENCH
APEX Tool Group
910 Ridgebrook Rd. (Suite 200)
Sparks, MD 21152
1-800-688-8949
www.gearwrench.com

