Uncategorized
PLEASE BE SEATED
By Christian Sturtz, [email protected]
Photos by Christian Sturtz
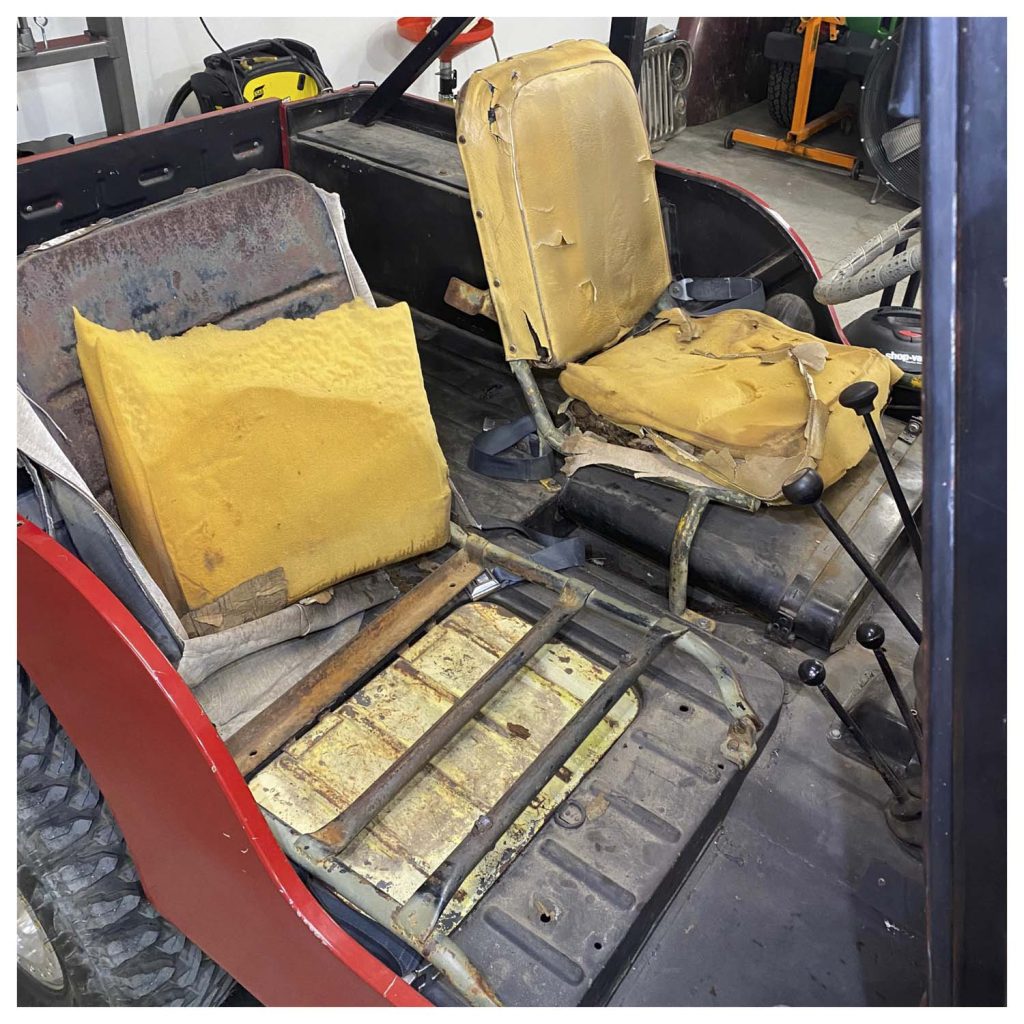
 The interior is a struggle most vintage vehicle owners encounter. This struggle often leads to several questions: How do I freshen up my interior? How do I keep my interior functional? How do I make the interior match the vehicle’s style? Do I buy complete seats and hope I can make them fit? Or, do I rebuild and repair what I have?
This article will overview the option of rebuilding and repairing original-style seats in a 1949 CJ-3A. The front seats in the Jeep are a disaster, and the rear seat is missing. Vintage auto parts are getting harder and harder to source. However, Kaiser-Willys is an excellent resource for vintage Jeep parts. We were able to source front seat covers with wooden bottoms through Kaiser-Willys. Their covers come in many colors; we chose black canvas for a traditional look. Kaiser-Willys was also able to outfit us with a factory-style rear seat frame and covers, along with the brackets to install it. To finish off the interior, we will also install vintage-style seatbelts by Crow Safety Gear. Crow is known for racing equipment and restraints. We installed the seatbelts for off-road safety only. If considering these for your application, please check to see if they are legal for road operation in your area.
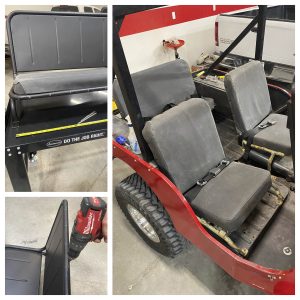
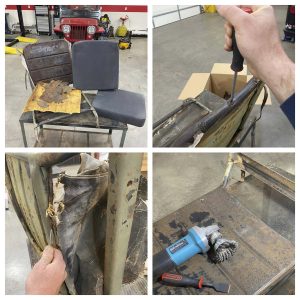
We started by removing the two front seat frames. Then we removed what was left of our original seat covers. On our application, this took a little work; it looked like the covers were falling off, but they were actually quite stuck in some areas. Next, we took a wire brush, removed the loose rust from our seatbacks, and sprayed the bare steel areas with paint.
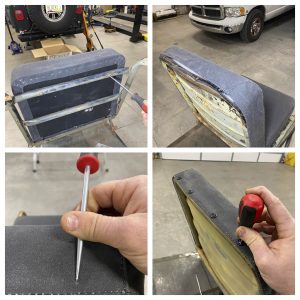
We started installing the new front covers with the bottoms. We chose to order our bottom covers with the plywood pans already installed. The bottoms are an easy bolt-on installation, and our holes lined up perfectly. Then it was time for the uppers, which slip over the outside tubular frame. We lined up the canvas where we wanted it and took a straight pick pushing it through the canvas into our screw holes. Finally, we ran a screw with a washer through the canvas into the frame. We started in the center at the top and worked our way back and forth around the frame. *Tip: you may have to adjust the positioning of the screws through the canvas due to the curve of the seat frame to eliminate bunching. 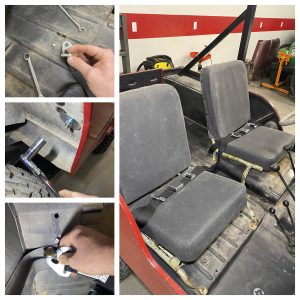
Before the newly covered seats were reinstalled, we decided it would be a good time to vacuum out the Jeep and install the new front seatbelts. We removed the old seatbelts. Our original seatbelt mounts were sketchy; they had very thin gauge upright angle brackets bolted through the seatbelts with ¼” bolts. We laid out the new Crow seatbelts, then installed the eye bolts. Next, the seatbelts were clipped into position. Ensure and check the seatbelts’ position for comfort and correct positioning before drilling any holes (you can do this by placing the seats in the vehicle and sitting in them). Finally, the front seats were bolted into position.
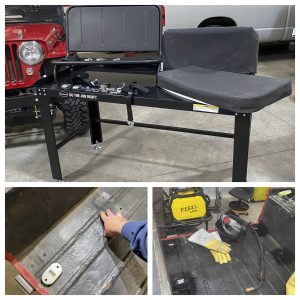 The rear frame install is pretty simple. Our Jeep had a little metal work needed because the previous owner had removed the seat frame loops (front mount of rear seat). Both the upper and lower seat covers on the rear seat install like the front upper seat covers. We started by installing the new seat latches in the floor and replacing the seat frame loops. Seat latches are an easy remove-and-replace installation. However, the seat loops required us to cut out metal strips and weld them in place. The ESAB Rebel’s S-MIG mode made this a quick and easy job. (Figure 5) Then all the screw holes for the seat covers were laid out and drilled. Next, we installed the upper and lower seat covers. Finally, we installed the rear seat belts; the seat was hooked under the loops and clicked into position. Please be seated and enjoy your vintage ride!
Parts Used:
Kaiser-Willys:
Front upper hardware (222001)
Front lower hardware (222002)
Front upper cushion/cover (2A2301-1-CVS-BLK)
Front lower cushion/over with plywood (2A2301-2-CVS-BLK)
 2x Rear seat frame brackets (REARBRKT)
Rear seat frame (A2782-3A)
Rear upper cushion/cover (2A2301-6-CVS-BLK)
Rear lower cushion/cover (2A2301-5-CVS-BLK)
Crow Safety Gear:
4x 2” lap belts with automotive latches, clip-in
Sources:
Kaiser-Willys
114 Bolton Court
Aiken, SC 29803
1-800-648-4923
Crow Safety Gear
4114 N. Pecos Rd. (Ste 101)
North Las Vegas, NV 89115
1-725-726-7432
Eastwood
Esab Welding and Cutting Products
2800 Airport Rd.
Denton, TX 76207
800- ESAB- 123
GEARWRENCH
APEX Tool Group
910 Ridgebrook Rd. (Suite 200)
Sparks, MD 21152
1-800-688-8949
www.gearwrench.com

