Builds, Product Highlight
I’VE GOT YOU SHORTY
By Christian
Sturtz, [email protected]
Photos by Christian Sturtz
Sometimes a standard slip-yoke-eliminator (SYE) is not short enough. The longer the transfer case, the shorter the rear driveshaft gets. This can cause problems in vehicles with short wheelbases, tall suspension lifts, lots of suspension travel, or a crawler box installed. There are a few different solutions for this problem. You could ins
tall an aftermarket transfer case, like an Atlas II by Advance Adapters. This is an excellent option for changing gear ratios, yoke sizes/styles, and output locations. The major downfall to the Atlas is cost.
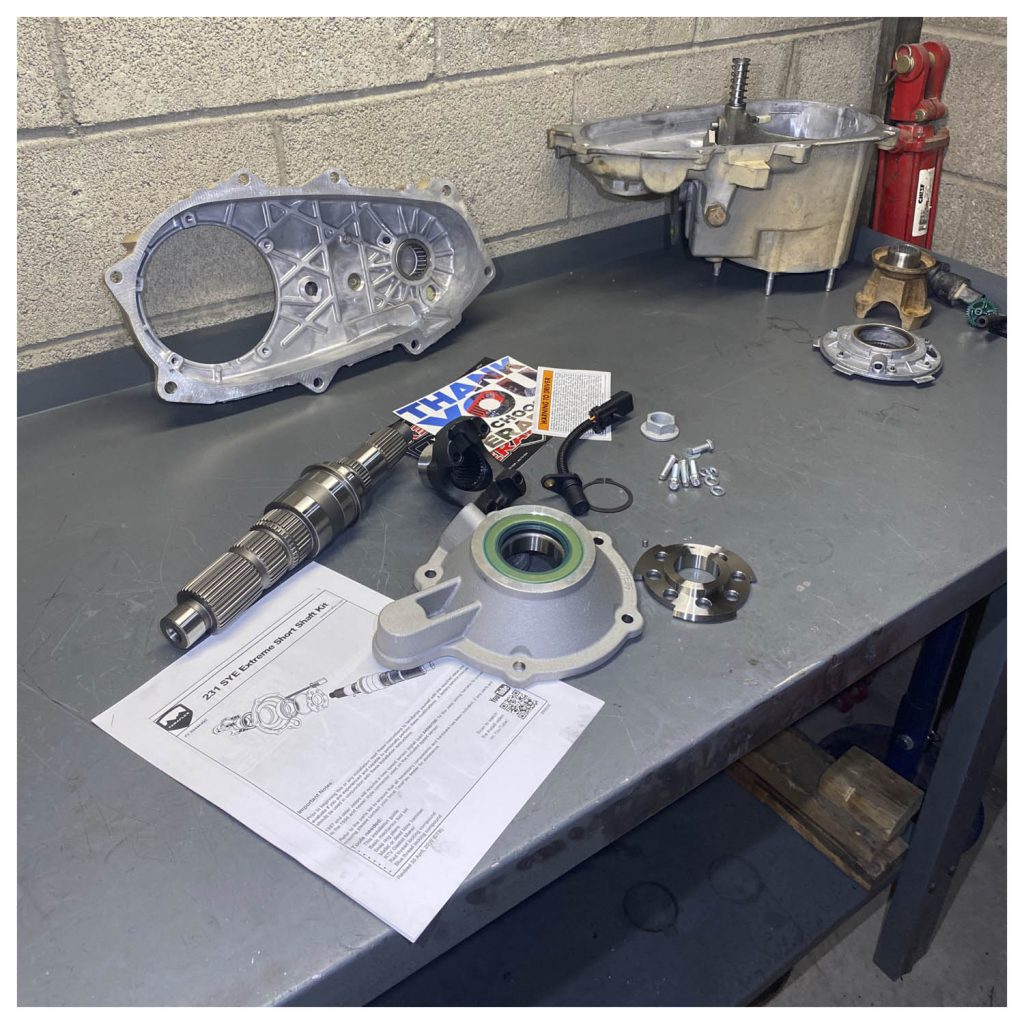
A less expensive option is an Extreme Short Shaft Kit from Teraflex. The Extreme Short Shaft Kit fits New Process 231 (NP231) transfer cases and claims to increase driveshaft length up to 7” from the original configuration. The Kit also boasts a 3” driveshaft length gain over a standard SYE kit. The Extreme Short Shaft Kit makes your NP231 shorter than an Atlas II in standard configuration.
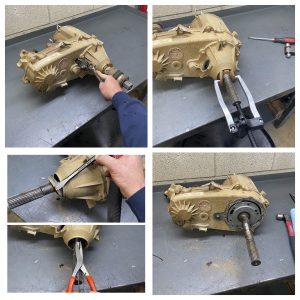
We prefer to do these transfer cases outside of the vehicle. It is possible to do a partial disassembly of the transfer case while in the car. However, that promotes leaks and doesn’t allow you to fully clean and inspect other parts. Before we removed the transfer case, we drained all fluids. We started by taking photos of (and marking) the mounting tabs for ease in replacing them in the exact location. The speedo drive was removed to start the disassembly, then the rear driveshaft boot, along with its retaining ring/dust shield. We have never found an easy way to remove the retaining ring without bending it. The Gearwrench puller we used worked well, but the rin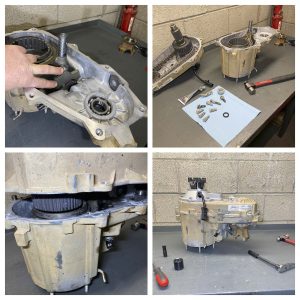 g was still bent in half; fortunately, this part is not reused on this install. Next, the rear output seal was removed (a seal remover can be used for this). Our seal was stubborn, and we ended up having to knock it loose around the edge with a chisel. Finally, the rear output shaft snap ring was removed, and the tail housing was unbolted and slid off. The rear tail housing is siliconed on and may require you to pry it off. Once the seal is broken, they come free pretty easily, but be careful not to damage the rear case half when prying.
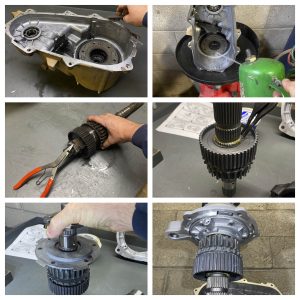
The front output yoke was removed next. After the bolts were removed, the two case halves were ready to separate. In the case half, there are two cast divots diagonal to each other, put there to aid you in separating the two halves. Make sure you have all the bolts out before splitting the halves. There are three different kinds of bolts that hold the two halves together; mark them in some way to ensure you get them back in the right location. Next, we removed the pump and shifter shaft spring. Finally, the front output, chain, and main shaft were slid out along with the shifter shaft, range fork, and mode and range gears. We mark the mode and range gears with a dab of white paint to show orientation. *Tip: the mode gear is the only part in an NP231 that could easily be installed backward.
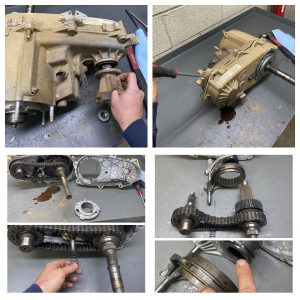 The silicone was then scraped, and wire brushed to thoroughly remove it from the sealing surfaces of the two case halves. Silicone was also removed from the sealing surface on the rear case half for the rear output. Then the case halves were sprayed out with brake cleaner. The original main shaft was disassembled; gears were cleaned and reinstalled on the new main shaft. A light coating of grease was applied to all metal-to-metal surfaces. Next, the cleaned-up pump was slid onto the main shaft along with the speedo pick-up gear. The pick-up gear comes with a pin that must be installed in the main shaft. Finally, the new rear output housing and yoke were slid on the main shaft and tightened down. The speedo pick-up was also installed. *Tip: make sure to line up the fingers on the oil pump and install the bolts for the driveshaft in the yoke before tightening the nut. We put thread lock on the threads of the nut and silicone on the back of the nut to prevent leaks.
The new tail housing mounting surface is coated with silicone along with the bolt threads. Then it is bolted to the rear case half. Next, the oil pick-up is reinstalled with a new O-ring that we matched up at a local parts house. Finally, the front output shaft and chain are installed in the rear case half.
The shifter shaft, mode gear/fork, and range gear are placed back in the front case half along with the spring. Make sure the pins for the mode and range forks are in their proper places. Then, one of the sealing surfaces for the case half is coated with silicone along with the bolt threads. Next, the rear case half is slid into position, and the two are bolted together. *Tip: make sure they are completely together before tightening. It may be necessary to use a screwdriver to push and adjust the mode gear to get the main shaft to start. Finally, the front yoke was slid onto the front output shaft and tightened; silicone and thread lock were used. I’ve got you shorty!
Teraflex:
Extreme Short Shaft Kit (4444400)
Sources:
Teraflex, Inc.
5680 W. Dannon Way
West Jordan, UT 84081
1-801-713-3314
GEARWRENCH
APEX Tool Group
910 Ridgebrook Rd. (Suite 200)
Sparks, MD 21152
1-800-688-8949

