Originally Published in Issue 34 of 4Low Magazine
Make sure to subscribe to get the newest issues of 4Low Magazine right to your mailbox. CLICK HERE
By Christian Sturtz, [email protected]
Photos by Christian Sturtz
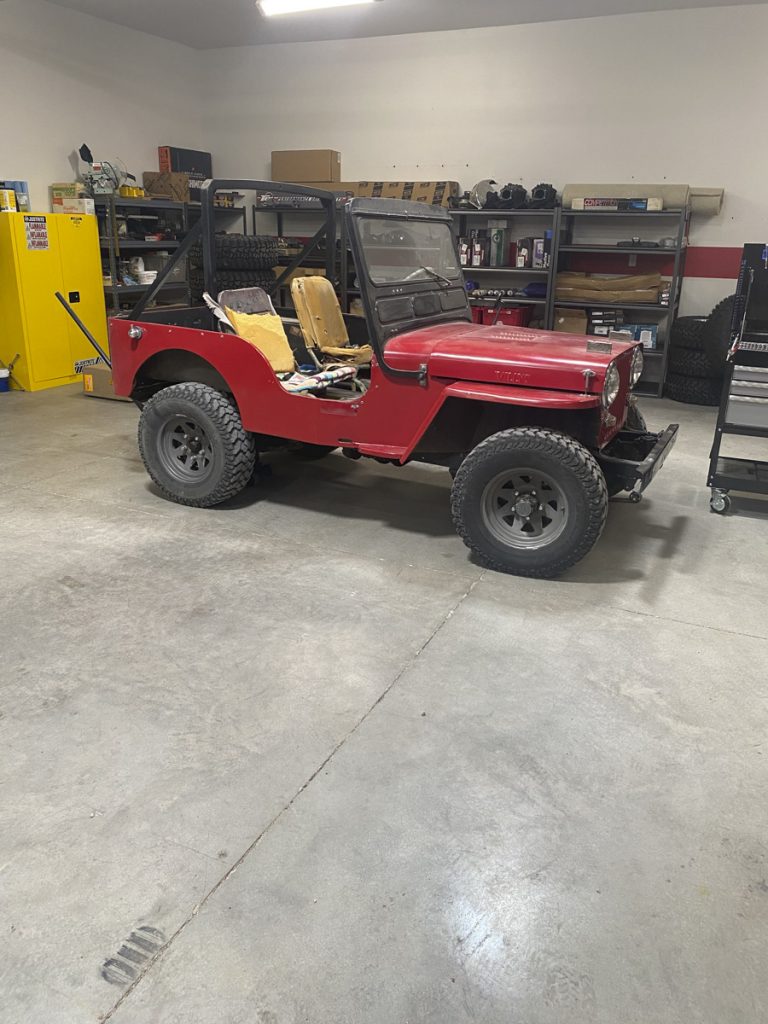
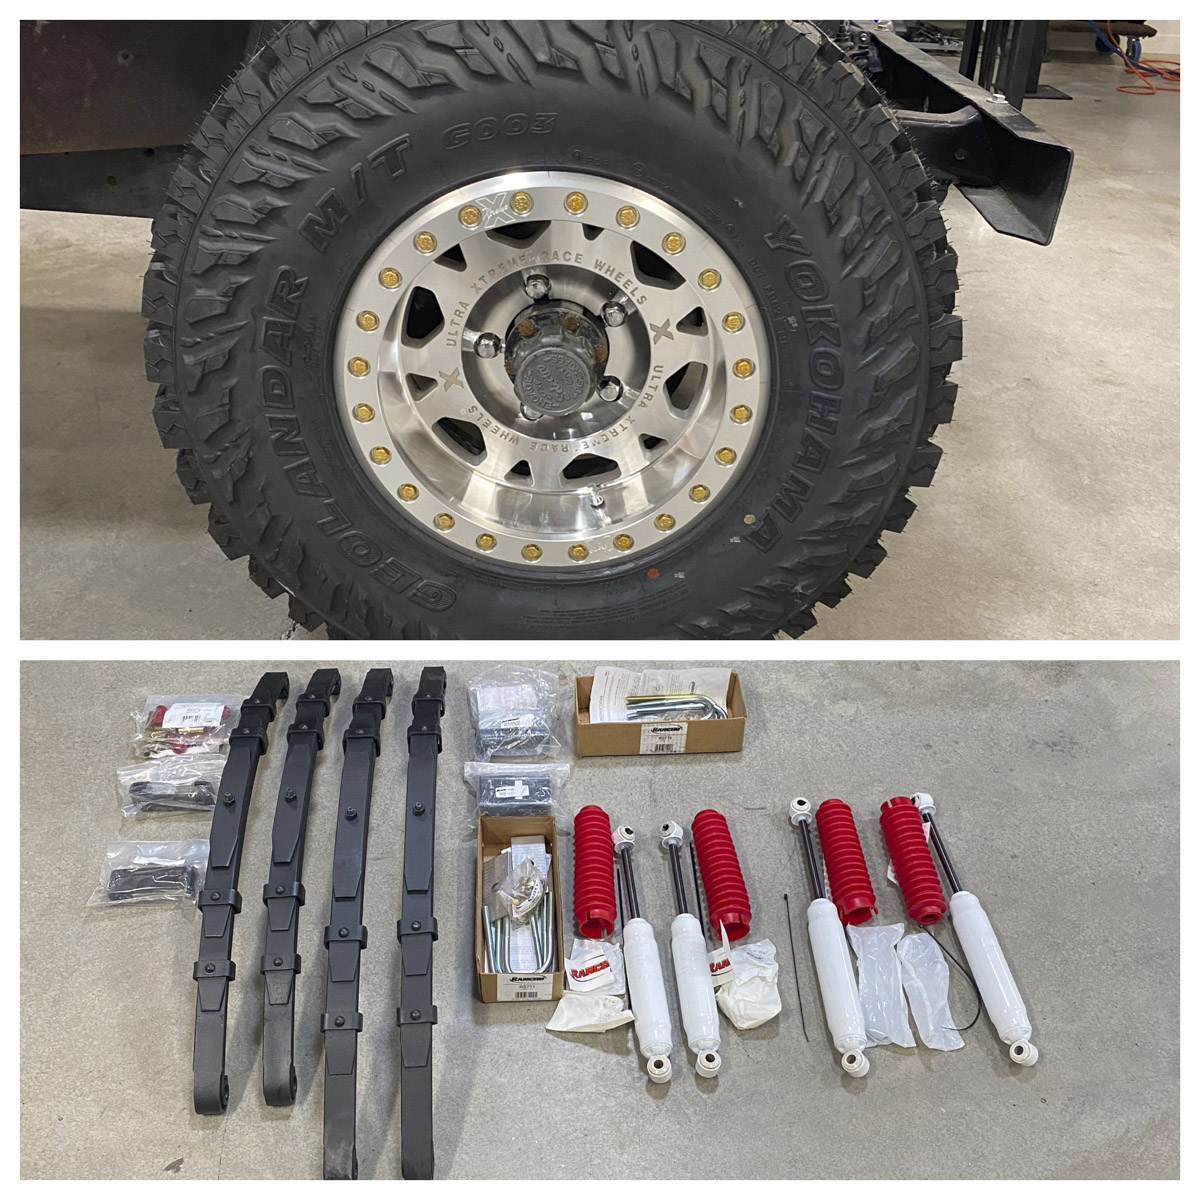
Occasional upgrades and makeovers to vintage vehicles keep them looking sharp. Nothing can change the look of a vehicle like a new set of tires and wheels. Our little Flat Fender (1949 CJ-3a) was stuck in a rut , so we thought we would treat it to some Geolander MT’s by Yokohama and some new beadlock wheels by Ultra Wheel Company. Wow! What a difference! The wheels and tires look so amazing on the Flattie that it almost makes you overlook the seat condition.
After the install, we did a little looking and measuring at the tire clearance and ride height. The Jeep’s springs were making the vehicle rake forward, and it didn’t have much front tire clearance. We only had around 3 ½” of tire-to-fender clearance in the front. 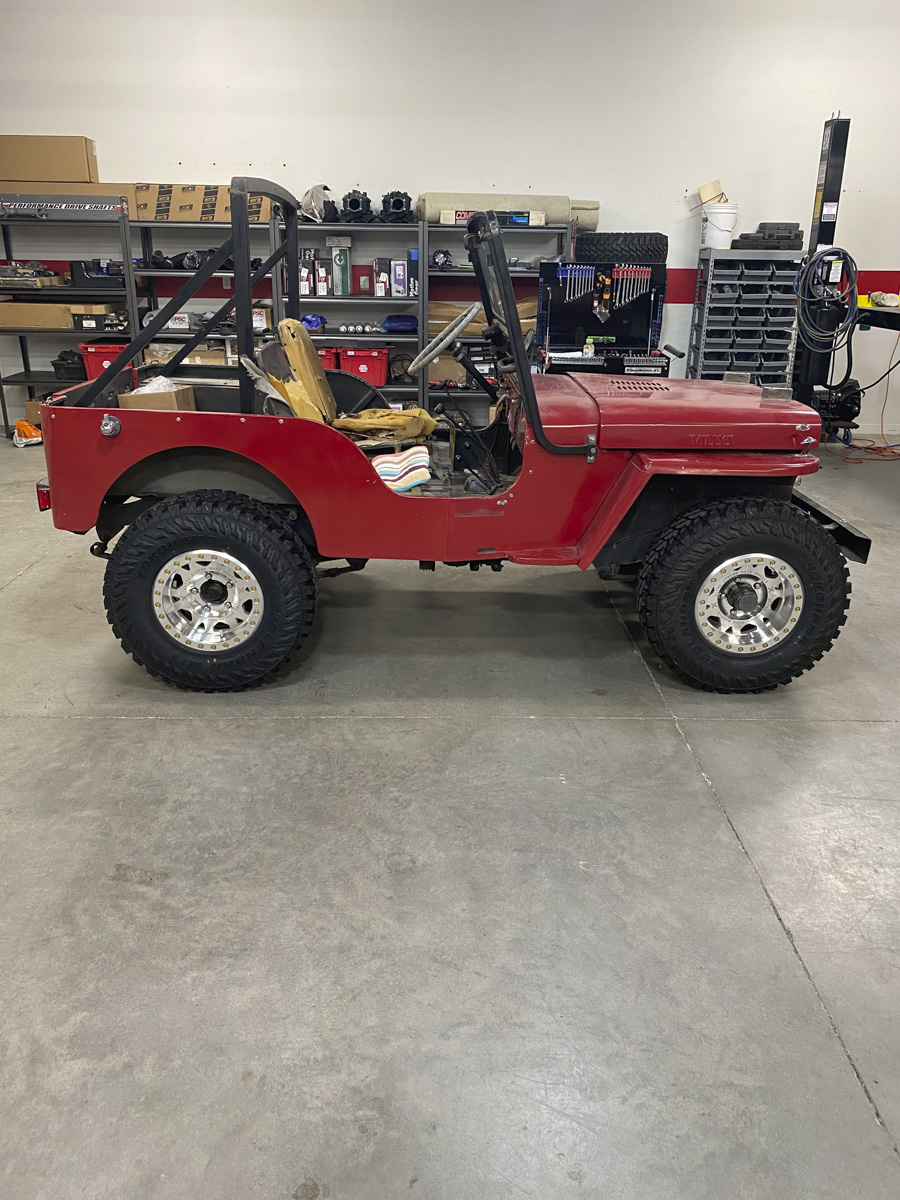 So, we decided to lift the little guy to give us more room for the new 31 x 10.50’s to do their work. Years ago, every suspension company out there made a kit for an early Jeep. These days, the pickings are much slimmer. Luckily, Rancho Suspension still makes 2.5” kits for early Jeeps. Rancho has available front springs, rear springs, shocks, and u-bolt kits. The springs come with bushings and bump stop spacers. The rear u-bolt kit even comes with shims to rotate up the rear axle for better driveshaft angle. These vehicles are so basic that’s all you need to lift them.
Before installing the lift, we placed a piece of tape above each wheel opening and wrote the tire clearance and measurement from the wheel opening to the ground on it. We started by jacking up the rear of the vehicle, supporting it with stands on the frame, and removing the tires. Then the shocks and u-bolts were removed. Next, the axle was lightly supported with a jack, and the shackle was unbolted from the frame and leaf spring (if the vehicle is equipped with original shackles, some bolts may be left-handed). Finally, the bolt was removed from the fixed side of the leaf spring. 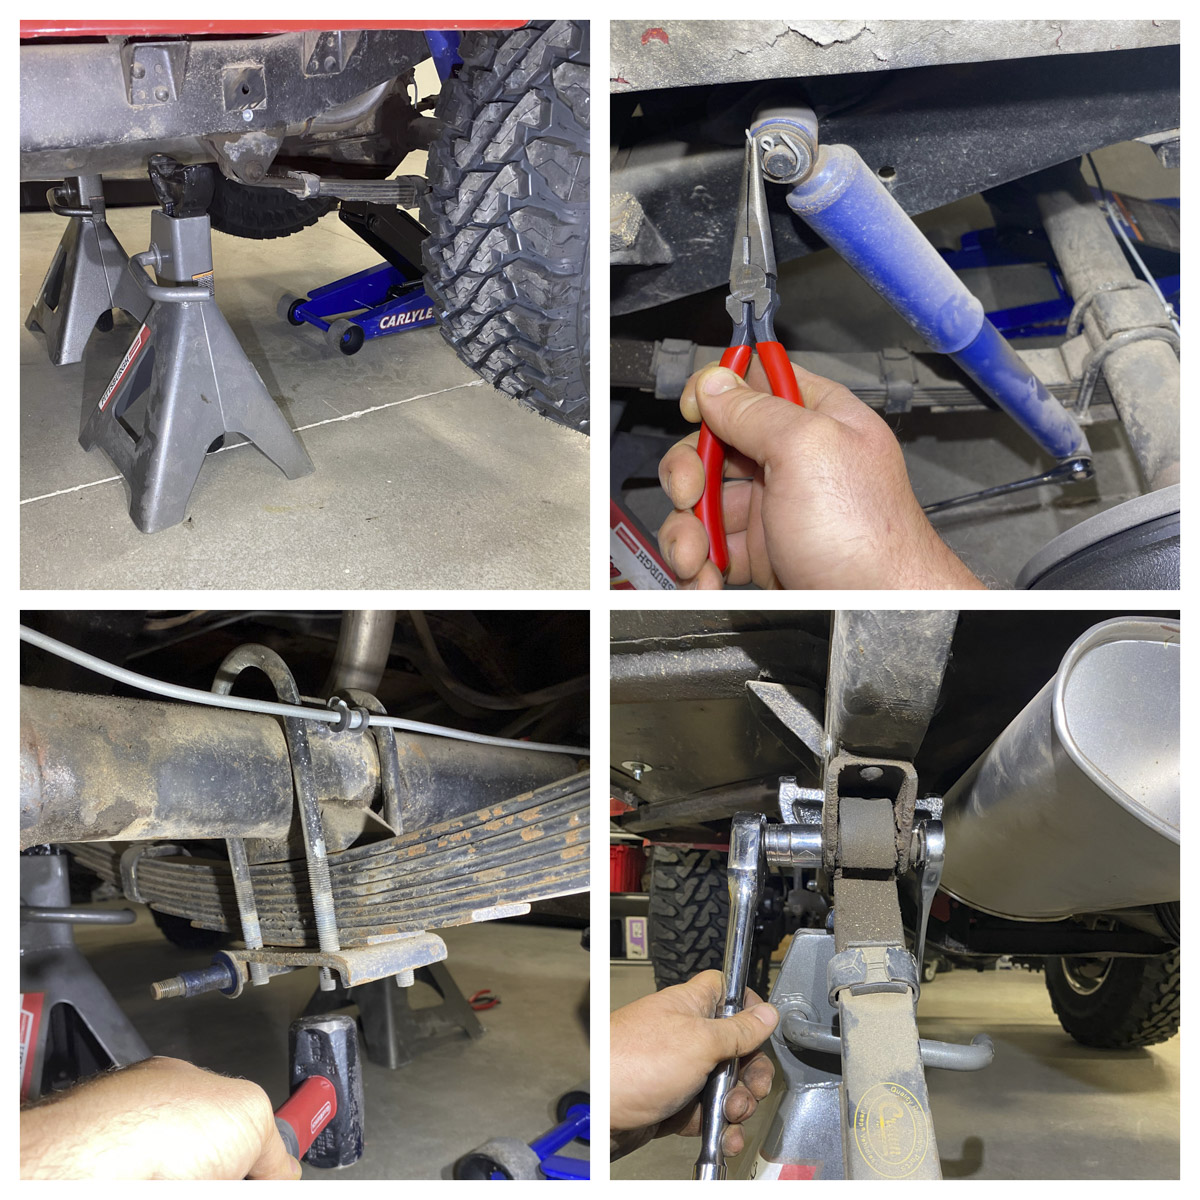
At this time, we took a few minutes and cleaned up the frame brackets and shackles, because this is a 70-year-old vehicle with 70-year-old grease on it. After cleaning up all the parts, we unbolted the bump stop and looked at it with the included drop bracket by Rancho. Our bump stops are also 70 years old and are hard as a rock. Unfortunately, aftermarket re-pops don’t hold up that well either. Thankfully, we were able to find some new ones by Daystar that were almost the same height as the spacer with the original mount on it. These Daystar mounts will compress a lot more than the originals but should be ridged enough to let us know we need to slow down a bit while driving. The new bolt hole spacing was marked, drilled, and the new bump stops were bolted in place with the Rancho supplied hardware for their spacers. 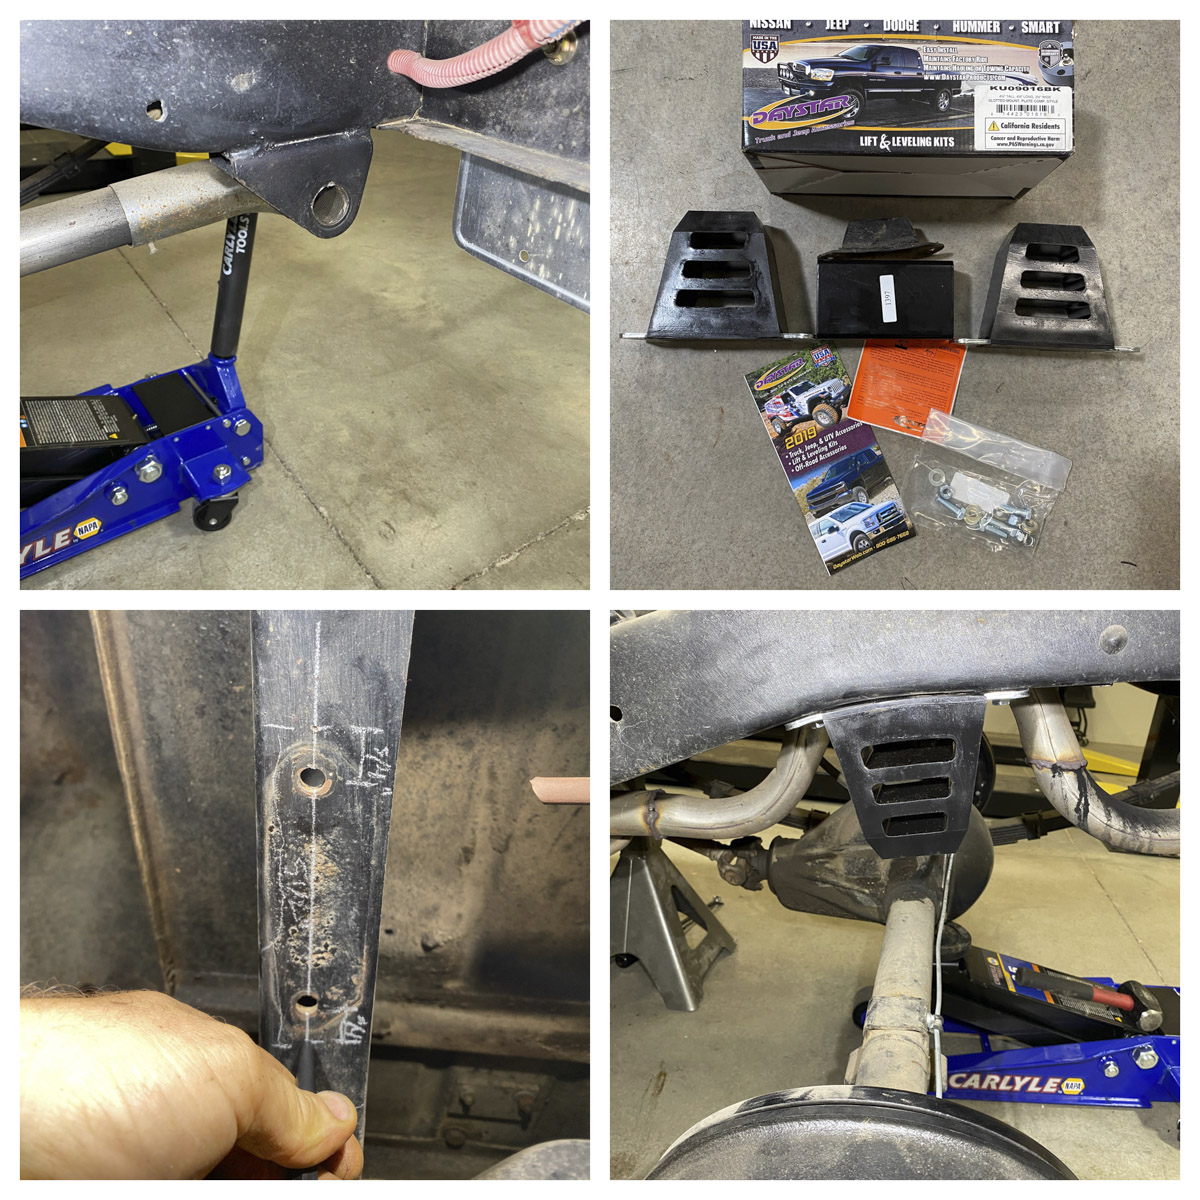
To start the re-assembly, some grease was placed on the fixed side spring bolt along with the shackle. Then the leaf spring was bolted loosely in place. On the back is a drive shaft angle shim that needs to be placed with the thick side forward, between the leaf spring and the axle. Next, we drilled the spring plate out to accept the ½” sized u-bolts and cut the needed amount off the u-bolts. You want them as short as possible with at least 1/8” sticking past the nylon ring on the nut. This helps keep them from getting hung up on an obstruction. Finally, the axle was loosely bolted to the spring with the u-bolts and the new shock was installed. All the suspension bolts were fully tightened after the tires were reinstalled, and the full weight was on the suspension. 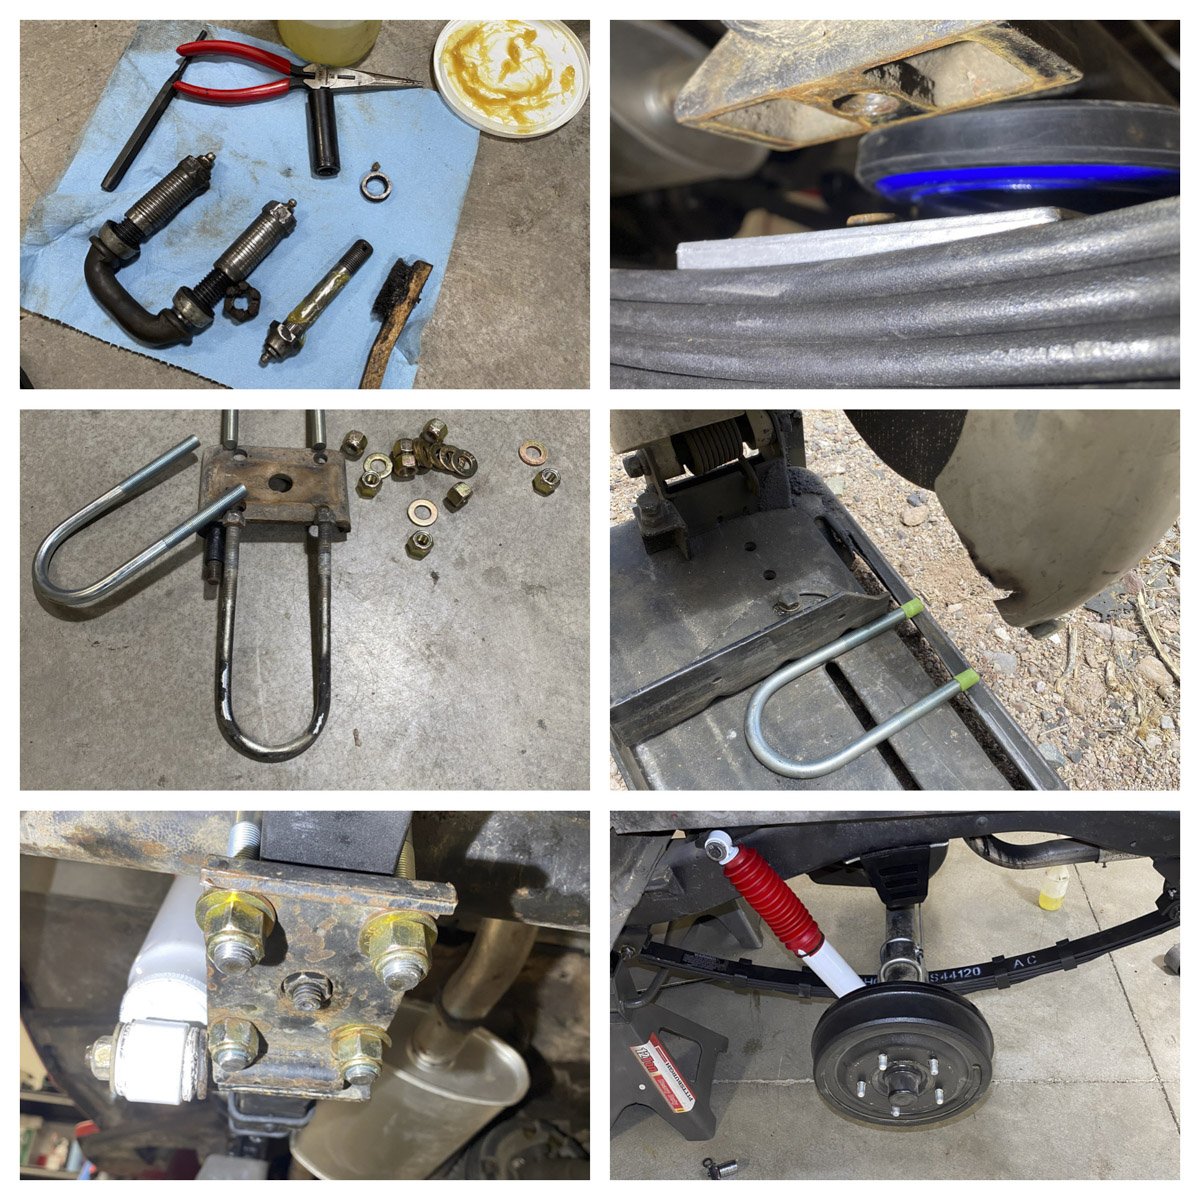 The other spring and shock installations are nearly identical. We did use shorter Daystar bump stops up front. The frame had to be drilled and tapped to install some of these mounting bolts. The steering may need to be adjusted depending on your type of steering set up. All the measurements were rechecked to see how we ended up.
As you can see, the vehicle’s rake is far less than when we started. The lift yielded approximately 2” more tire clearance in the rear and 3” more in the front. Ultimately, we ended up with a flat out makeover! 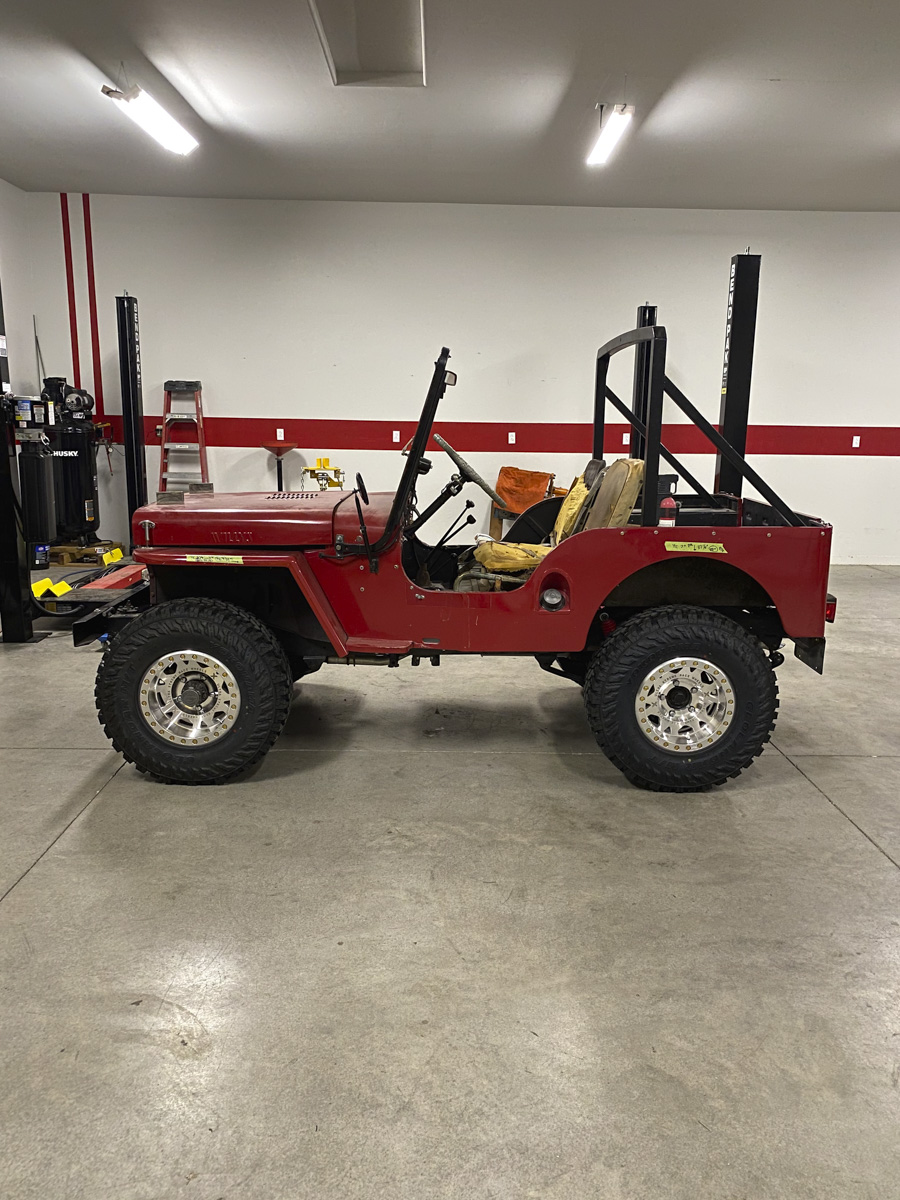
Sources:
Rancho Suspension
1 International Drive
Monroe, MI 48161
1-800-325-8886
www.gorancho.com
Daystar
841 S. 71st Ave.
Phoenix, AZ 85043
1-800-595-7659
www.daystarweb.com
GEARWRENCH
APEX Tool Group
910 Ridgebrook Rd. (Suite 200)
Sparks, MD 21152
1-800-688-8949
www.gearwrench.com
Napa Auto Parts
1-800-538-6272
www.napaonline.com
Ultra Wheel Company
586 N. Gilbert St.
Fullerton, CA 92833
1-800-321-4456
www.ultrawheel.com
Yokohama Tire Corp.
1 MacArthur Pl., Ste 800
Santa Ana, CA 92707
1-800-722-9888
www.yokohamatire.com
Parts Used:
Rancho:
Springs x 2 (44020)
Springs x 2 (44120)
Shocks x 2 (RS55113)
Shocks x 2 (RS55119)
U-bolt kit (RS711 and RS714)
Daystar:
Rear bump stops (KU09016BK)
Front bump stops (KU09017BK)
Napa:
3½ Ton service jack (791-6420)
Ultra Wheel Company:
Beadlock Wheel (103-5885MPBL25)
Yokohama Tire Corp.:
Geolander MT (110133301)

